Posted on

February – One month down 11 to go

It’s February and I’m slacking at doing bi-weekly posts. So here goes my verbal/written diarrhea and poor writing skills.

I’m getting ready for the May OddMall and starting to look at the options of doing other shows. I’d love to start up some sort of Goblin Market Craft show in Cleveland….there is the written diarrhea…words just flowing out…but I would..how does one start a new craft show from scratch?

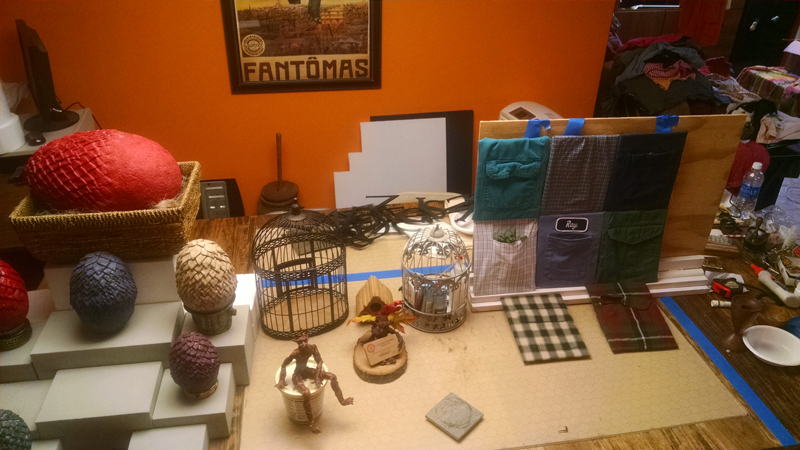
I have lots of critter builds going on. Let’s do a quick run through

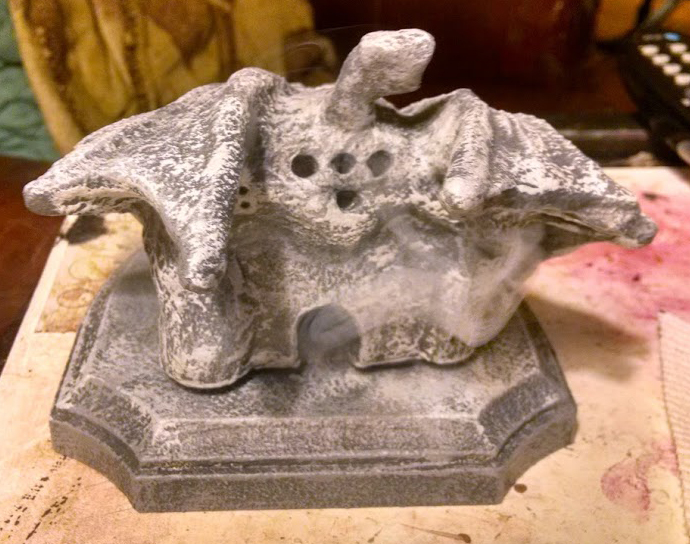
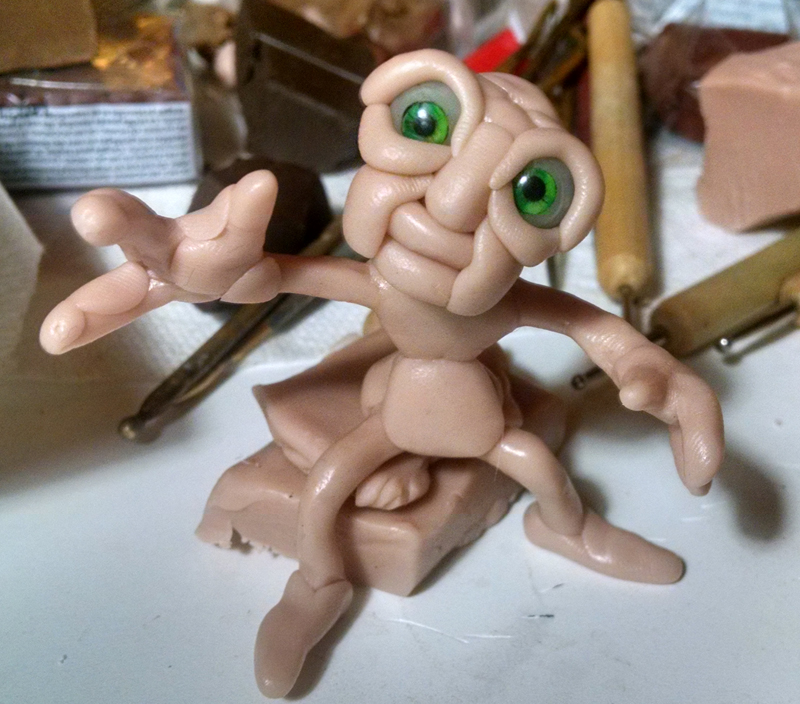
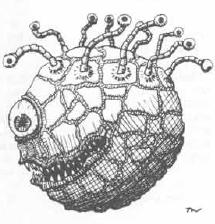
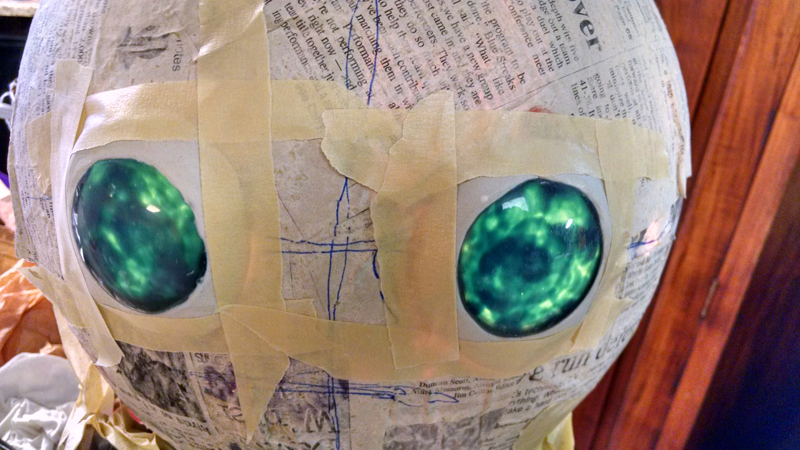
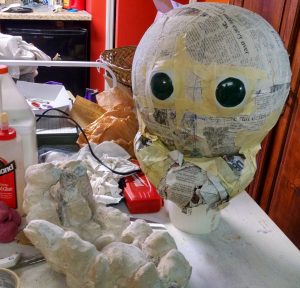
The Baby Beholder is coming along well. I expect to have his base layer done by the end of this week. Here is how he started and where he is at right now.

baby Beholder Startbaby beholder eye stalks


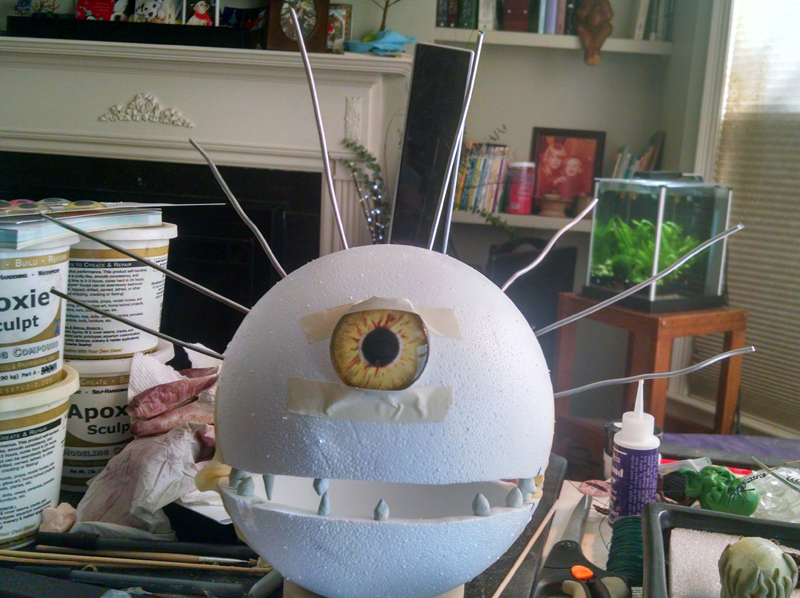
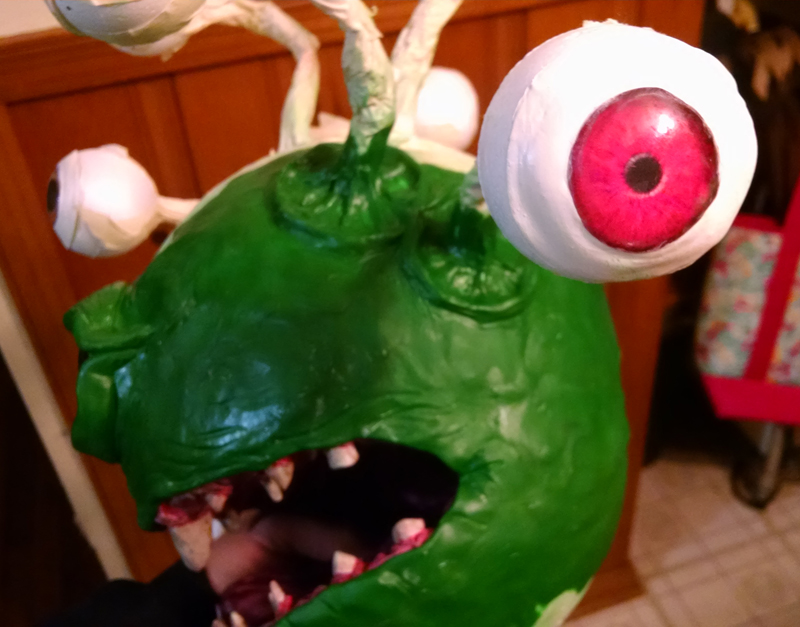
Once his base coat is done I’m going to give him the classic 1975 beholder hide. I’m not a fan of the eye layout so I changed that up. I have it designed so he can be screwed onto an acrylic rod base or the future owner will be able to hang him up in the house with some fishing line.

Beholder_(D&D)

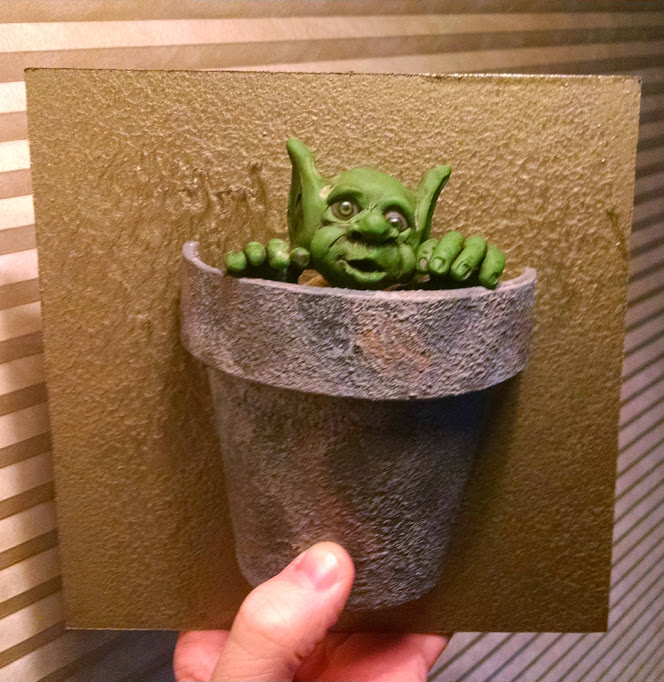
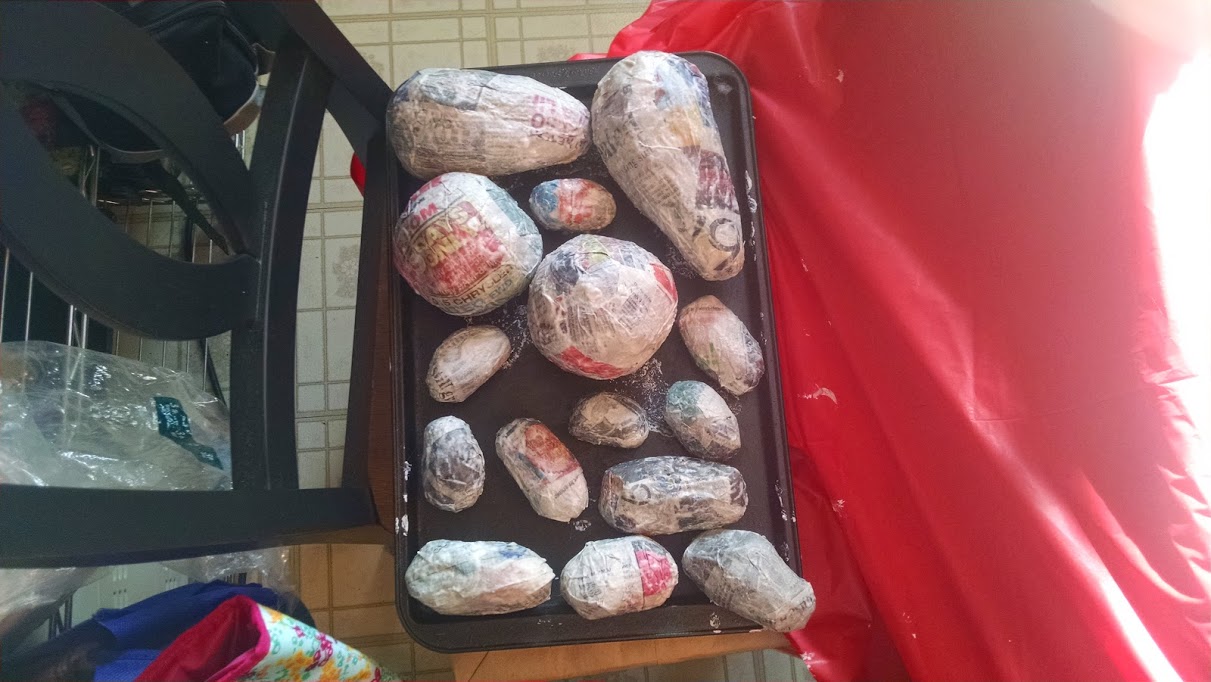
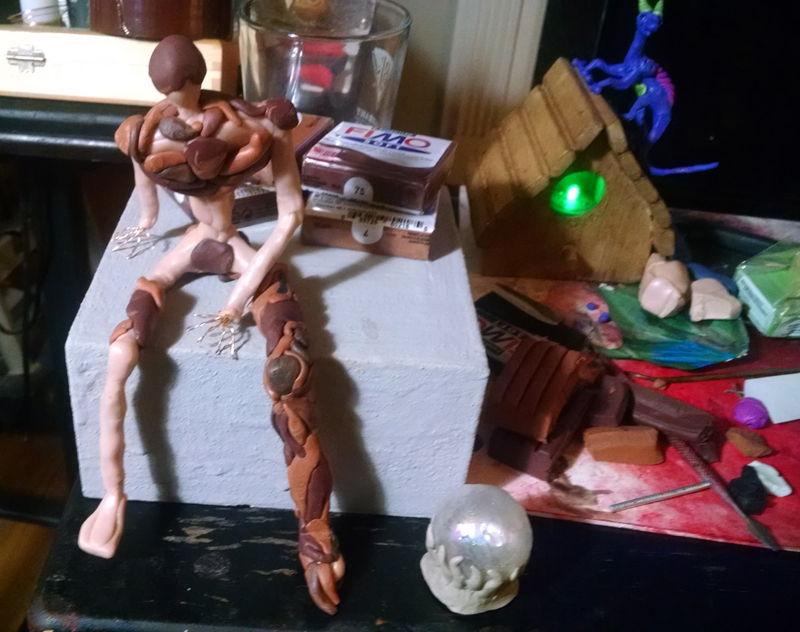
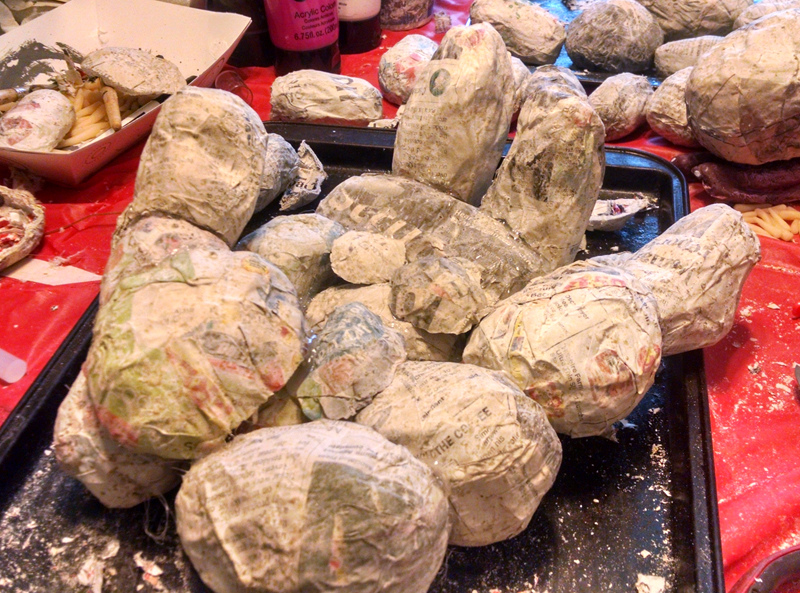
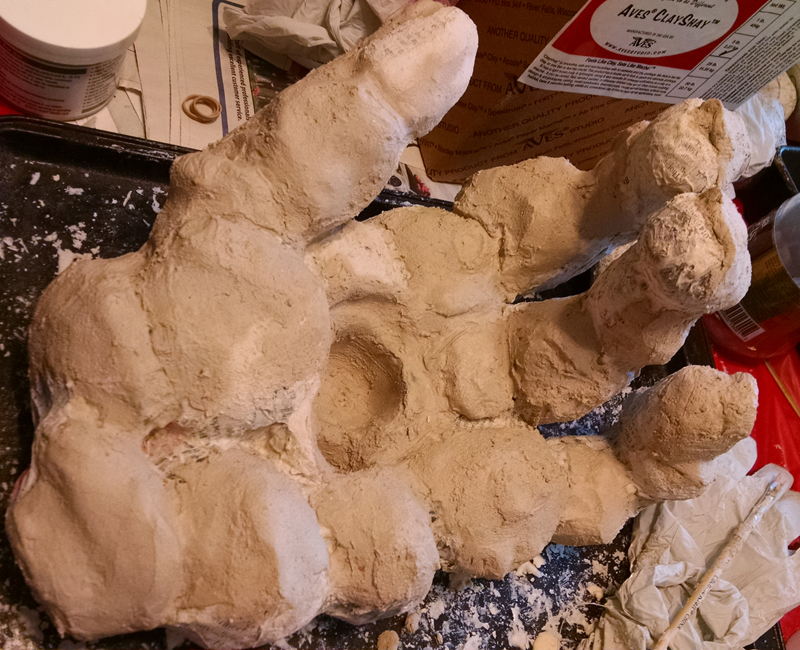
I’m just about done with my beta test Stone Elemental Hand. It is a paper mache build with some other media mixed in there. The palm of the hand will have a “pot” in it so the owner can put a small house plant in the palm. Don’t you worry, I’m a thinker.. The area of the pot is going to have a rubber coating on it so the water won’t cause any issues…. After I finish off the beta test I’ll be building one to take to the oddmall.

stone elemental hand start stone elemental hand claysha

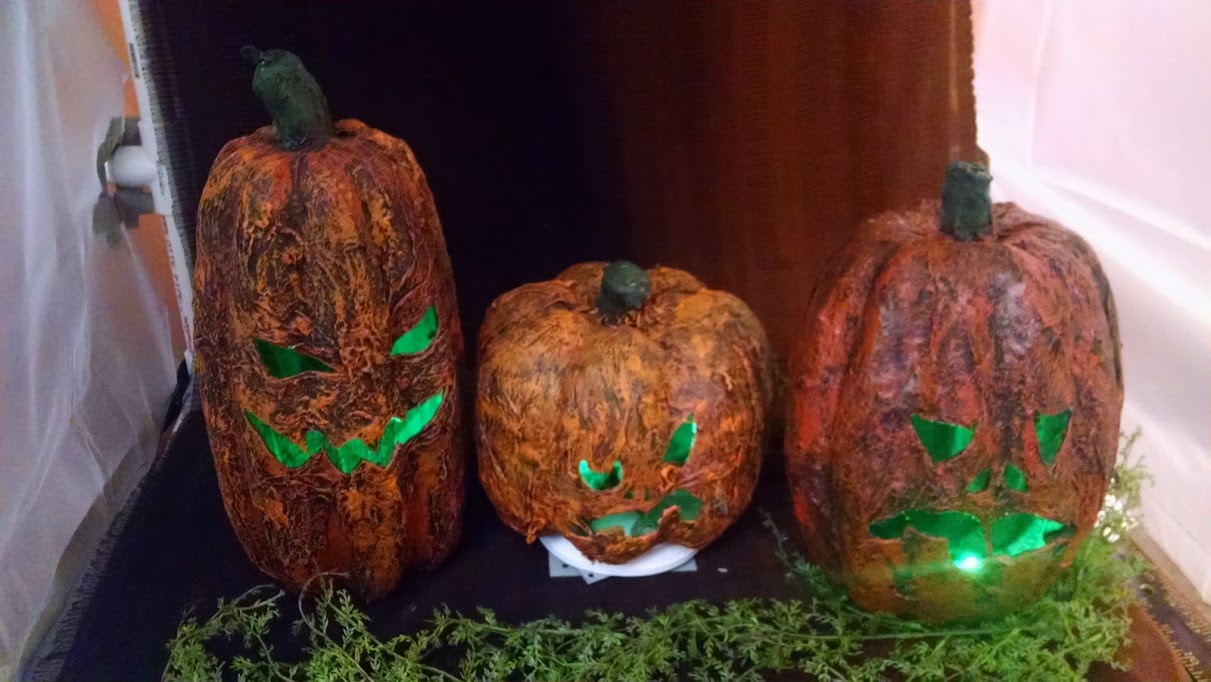
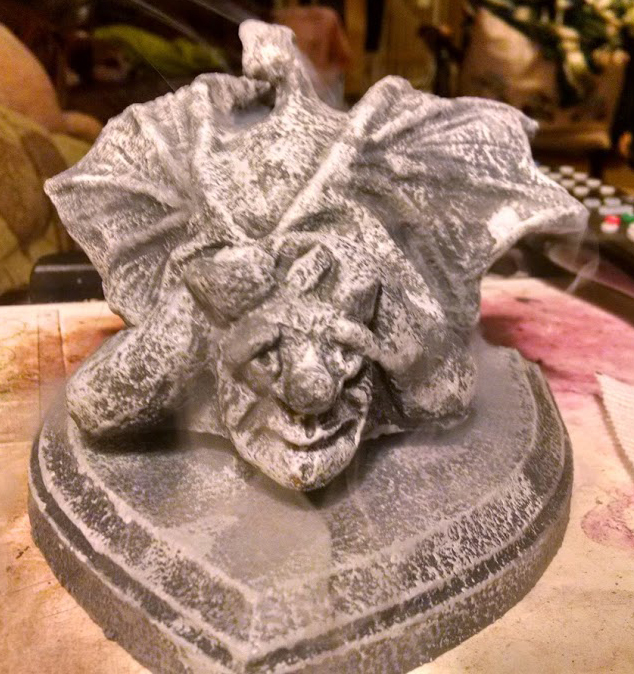
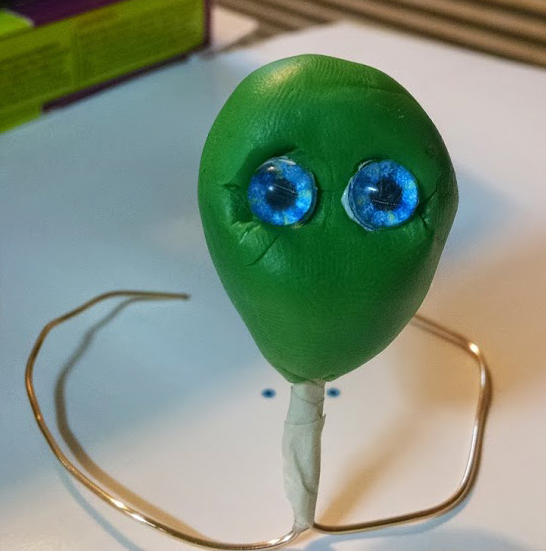
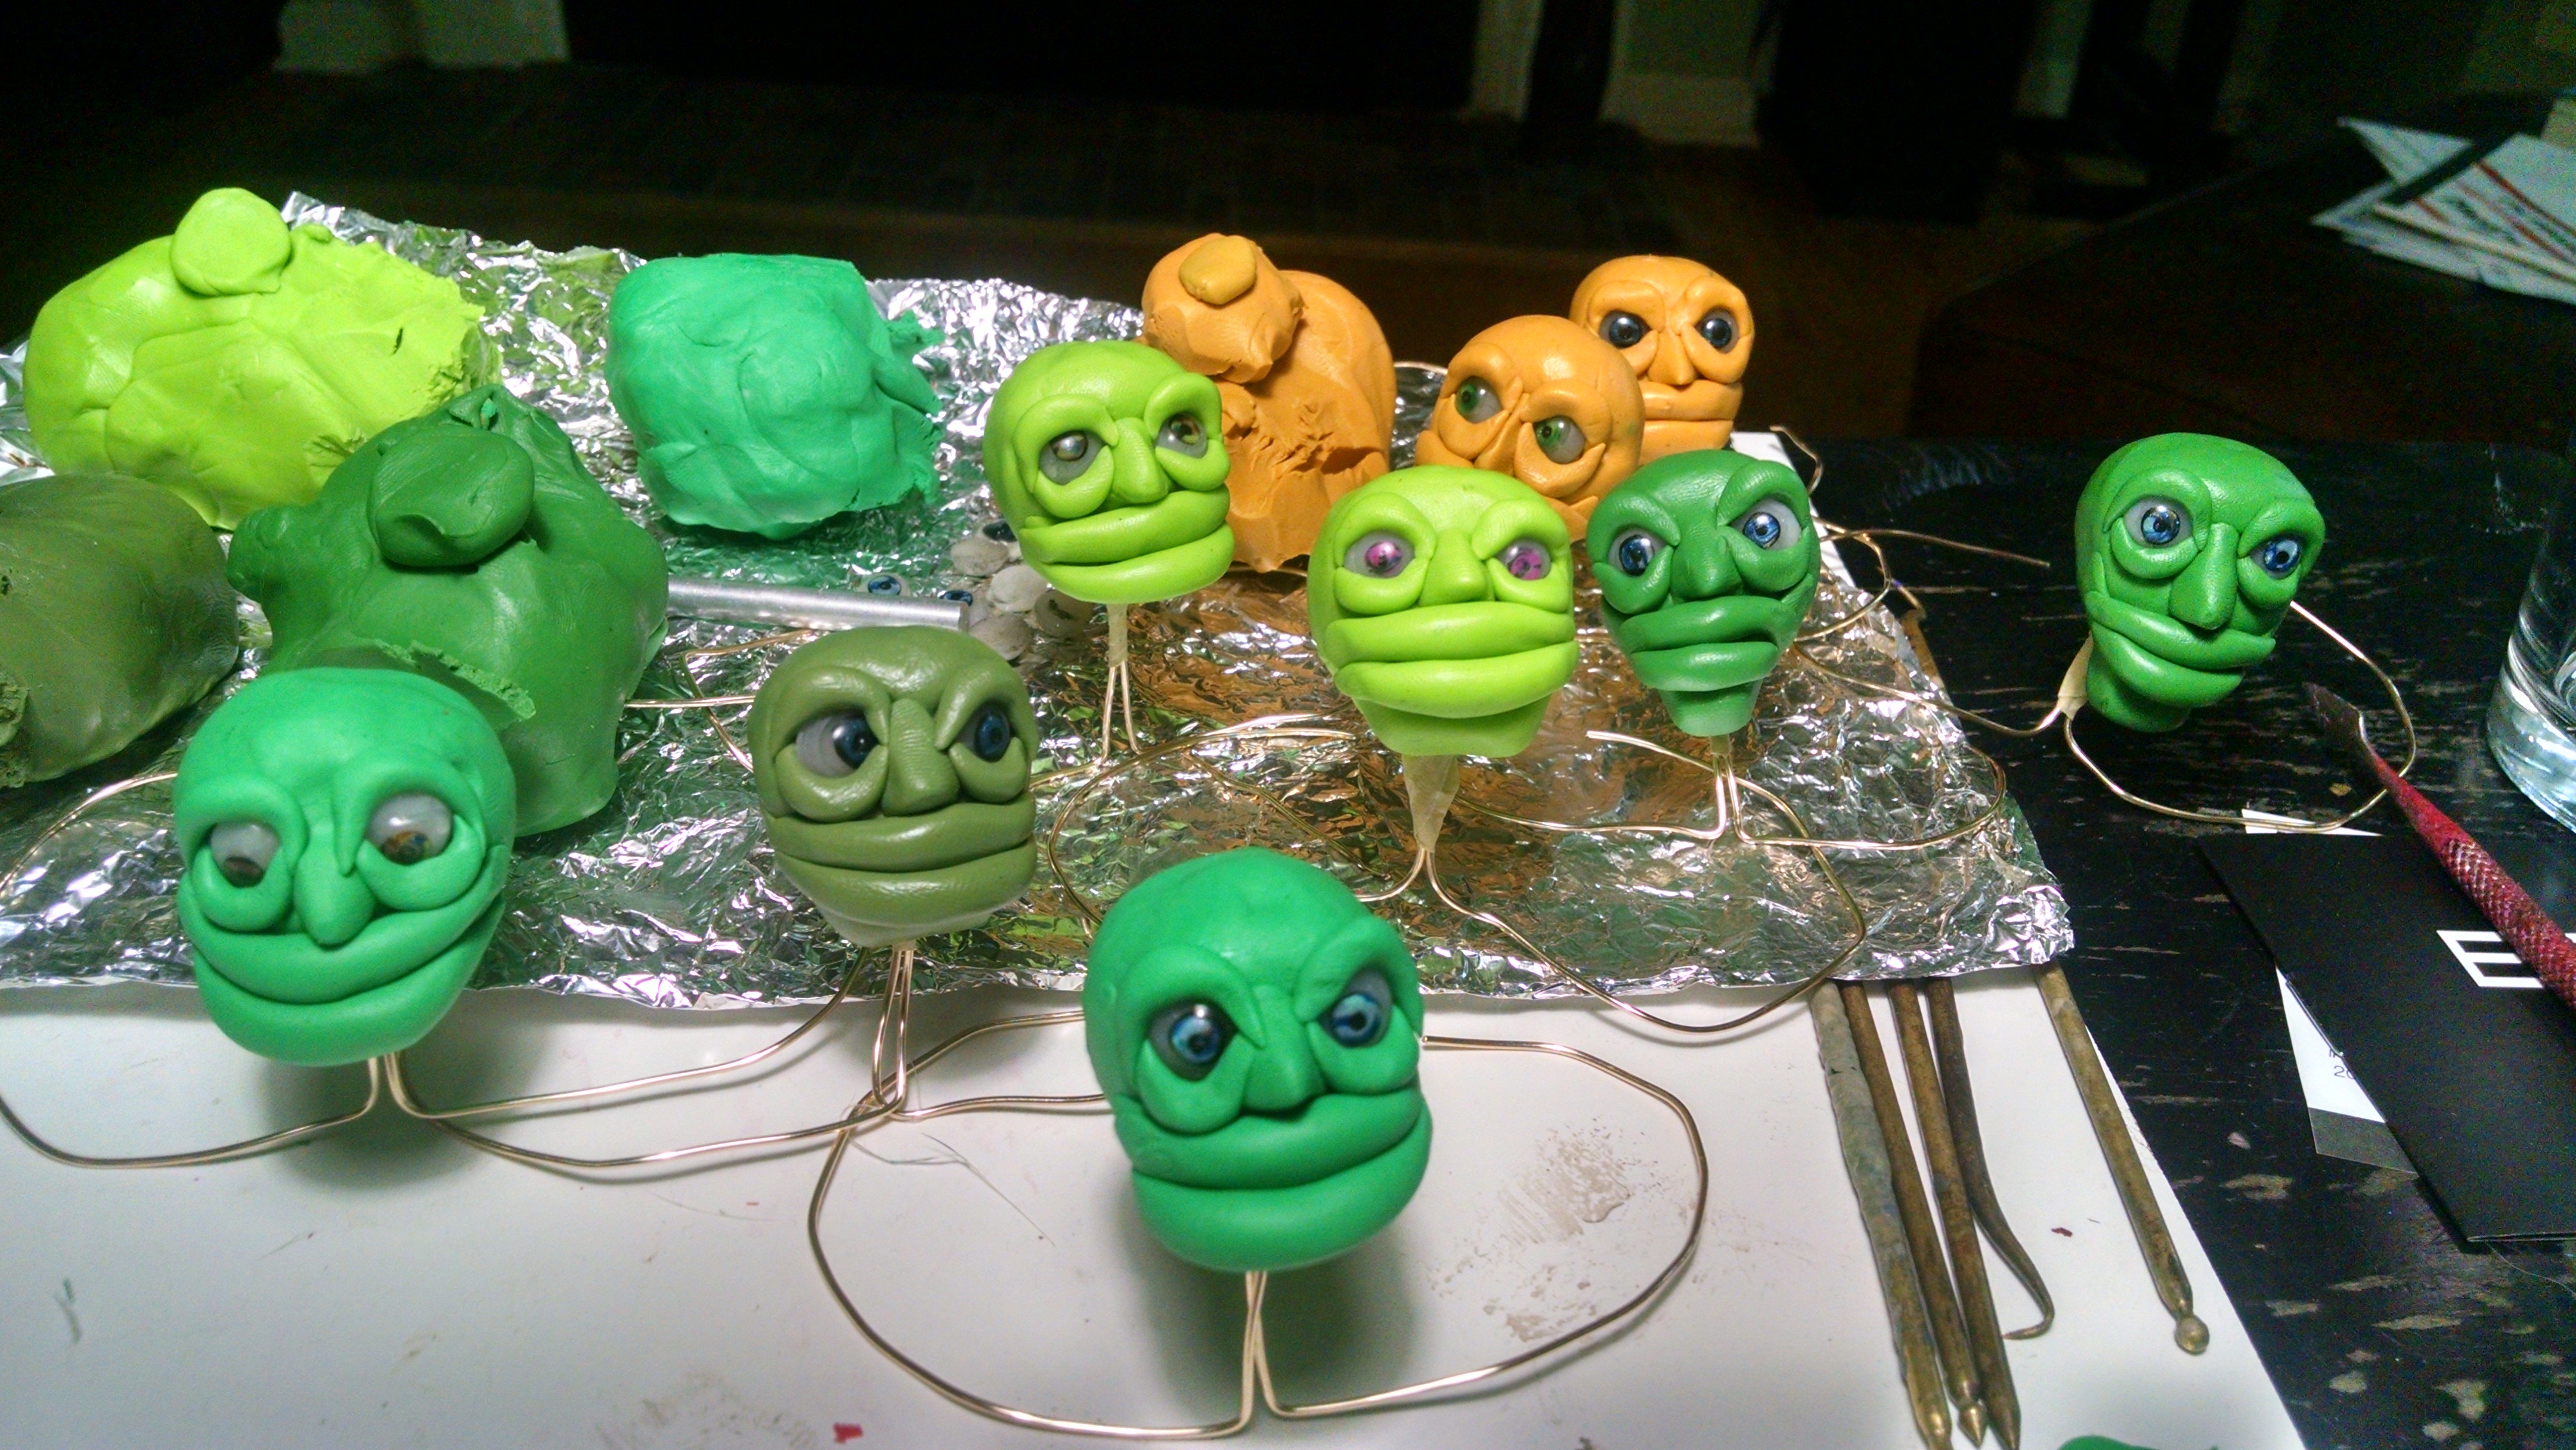
Also showing up at the Oddmall if things go as planned will be a Stone Elemental Head. He will have a light inside his melon so that the eyes will glow. I think I’m also going to see about making some light come out of the mouth and perhaps make some cracks in the back of the head that will make some interesting light/shadows against a wall behind the head.  I have lots of paper mache work to get to.

stone elemental eyes   stone elemental head

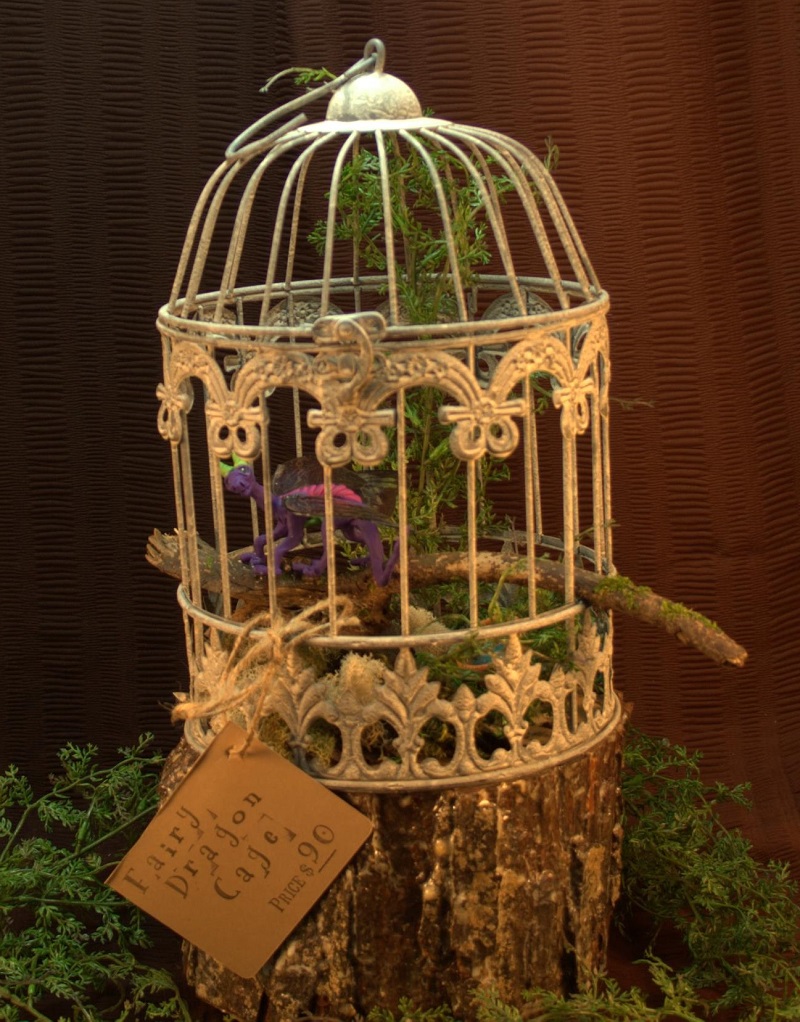
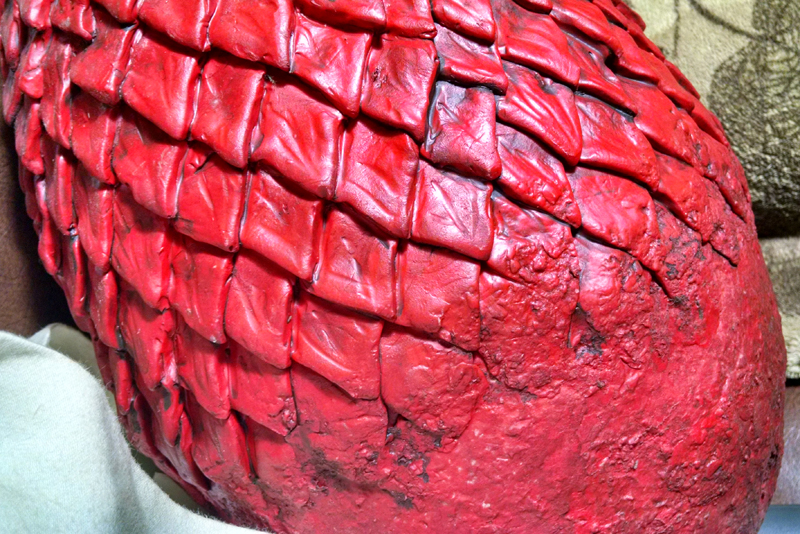
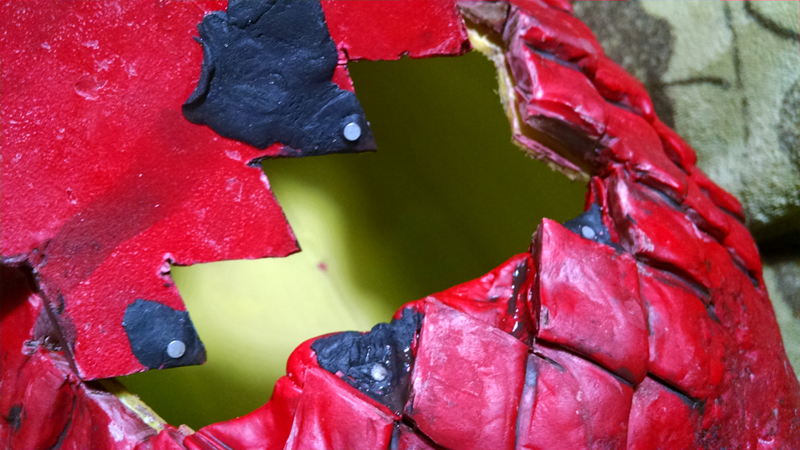
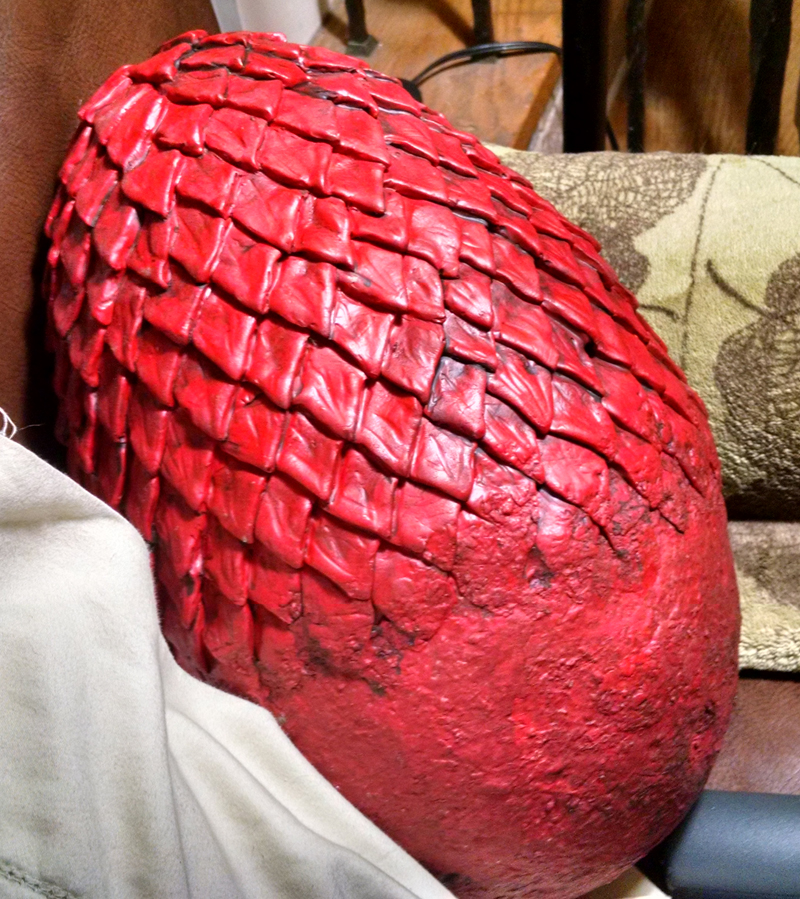
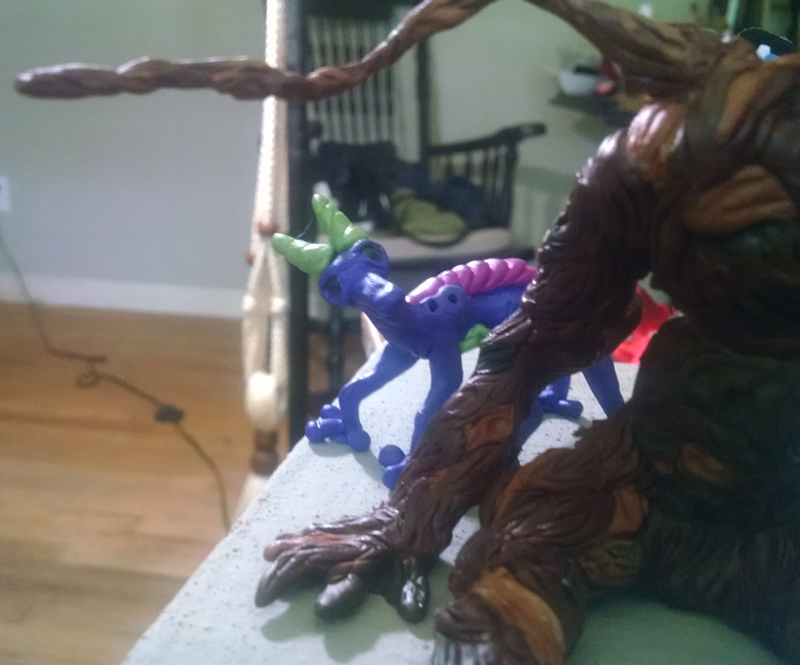
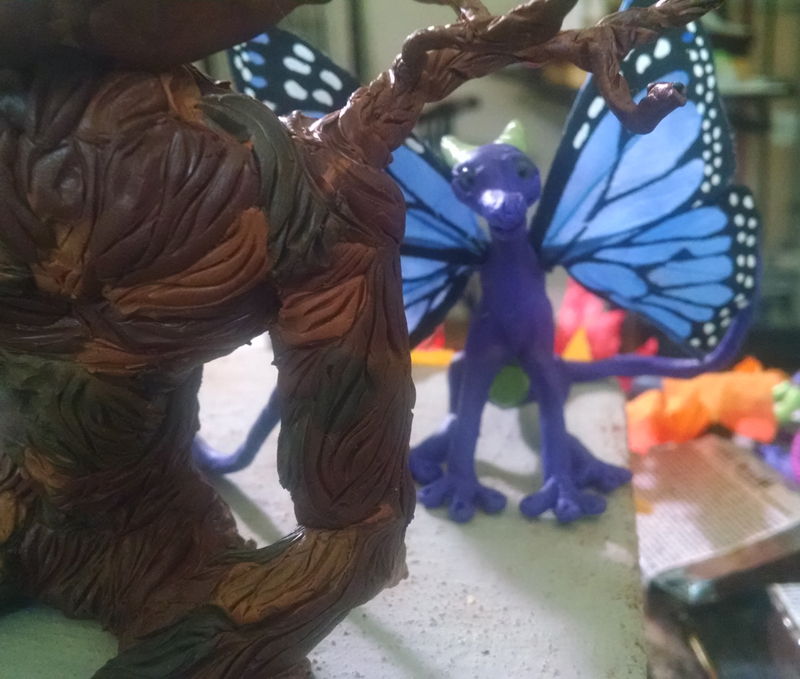
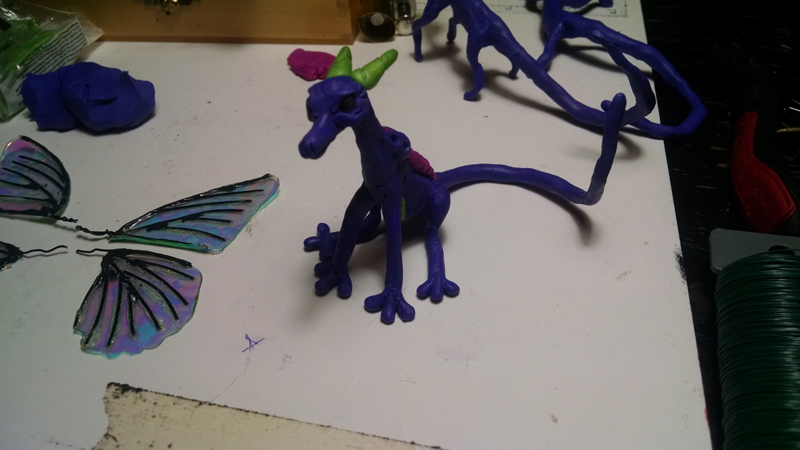
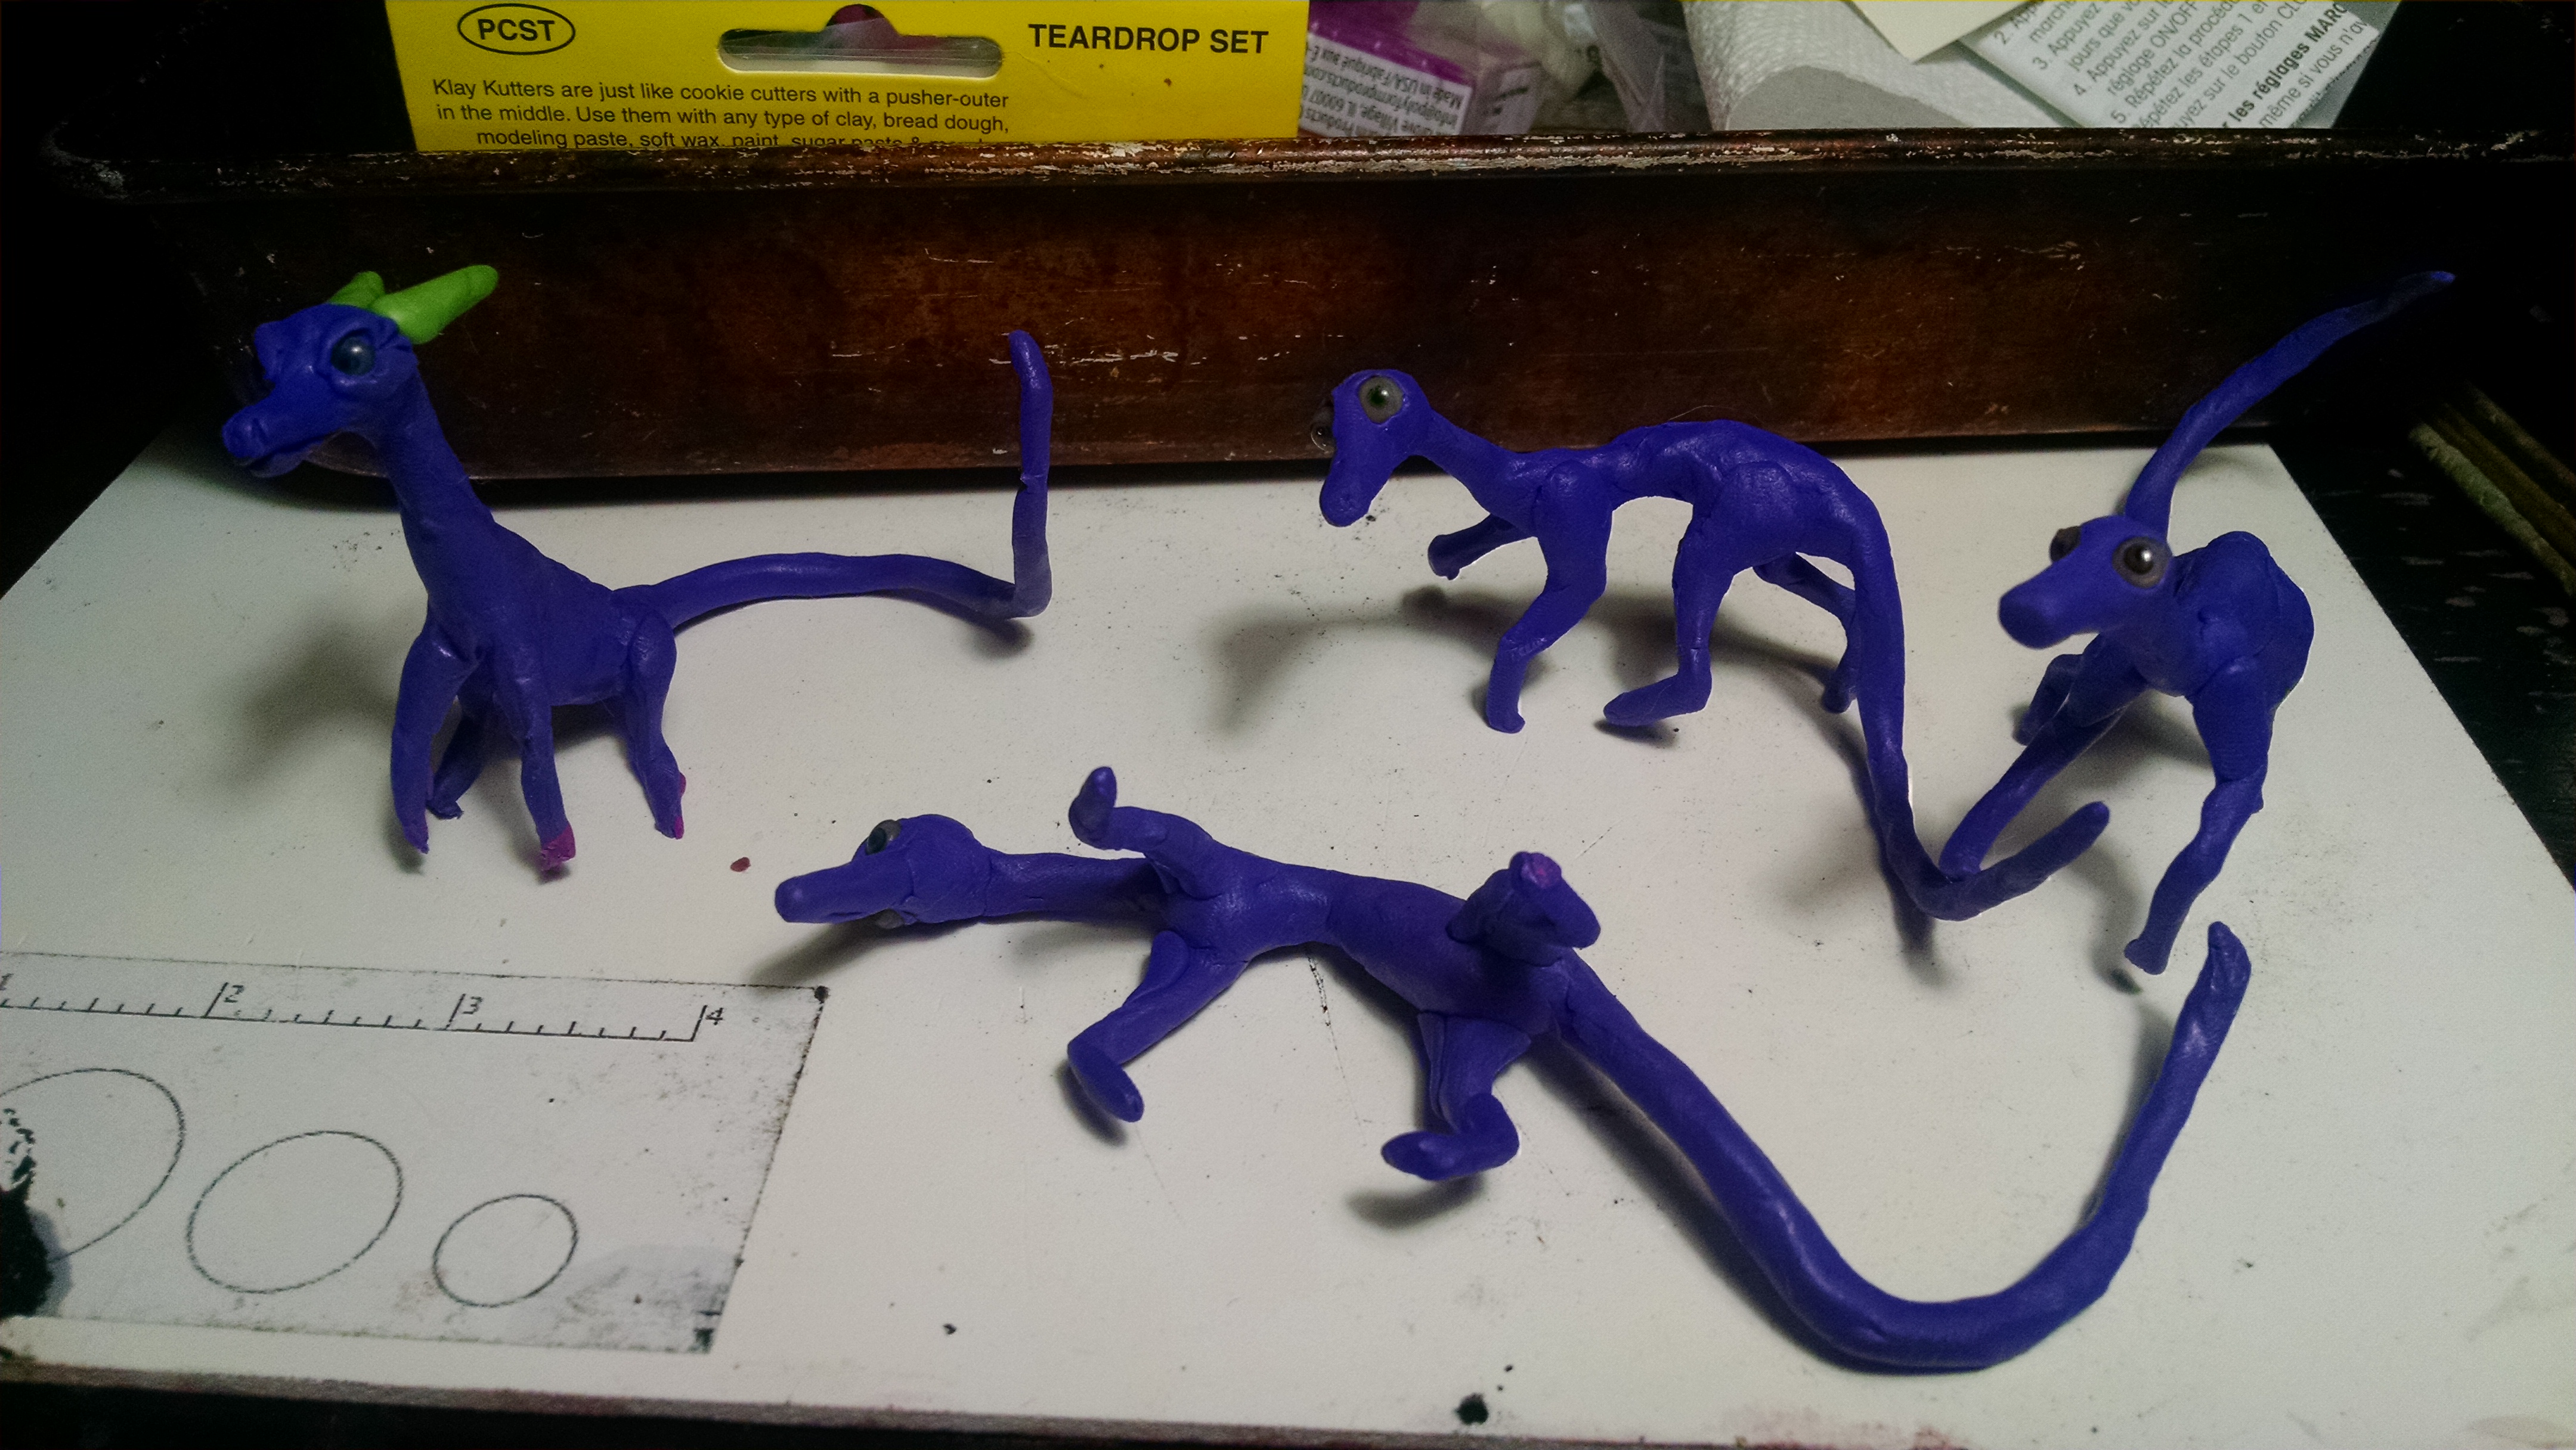
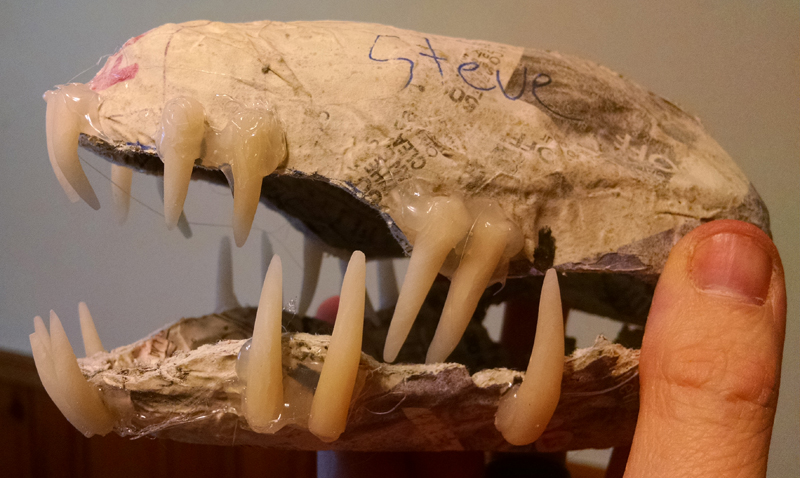
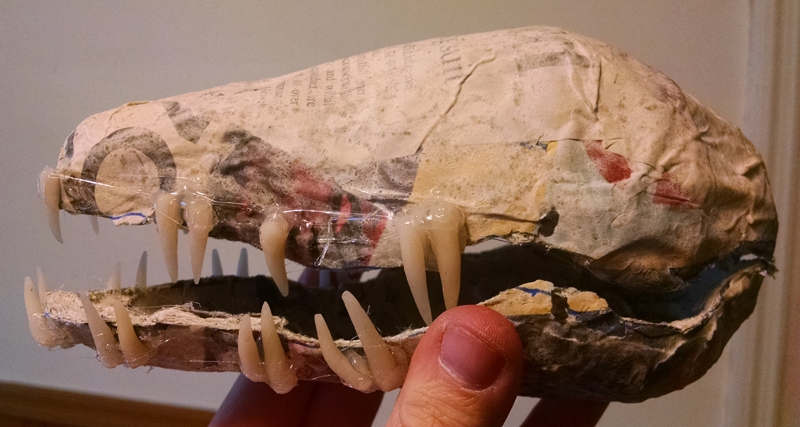
I’m doing some Paper Mache Dragon building as well… I’m not sure how it will all work out in the end but there is a chance I will have a couple of small dragon Trophy heads at the Oddmall

paper mache dragon jaw paper mache dragon jaw

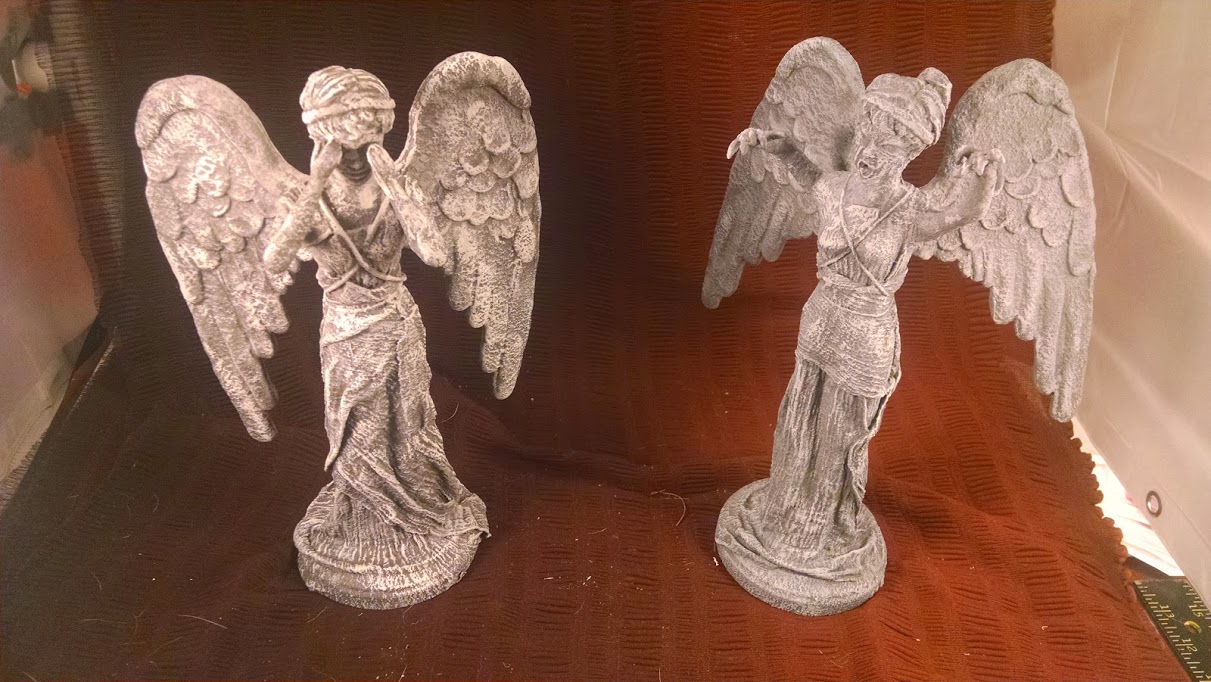
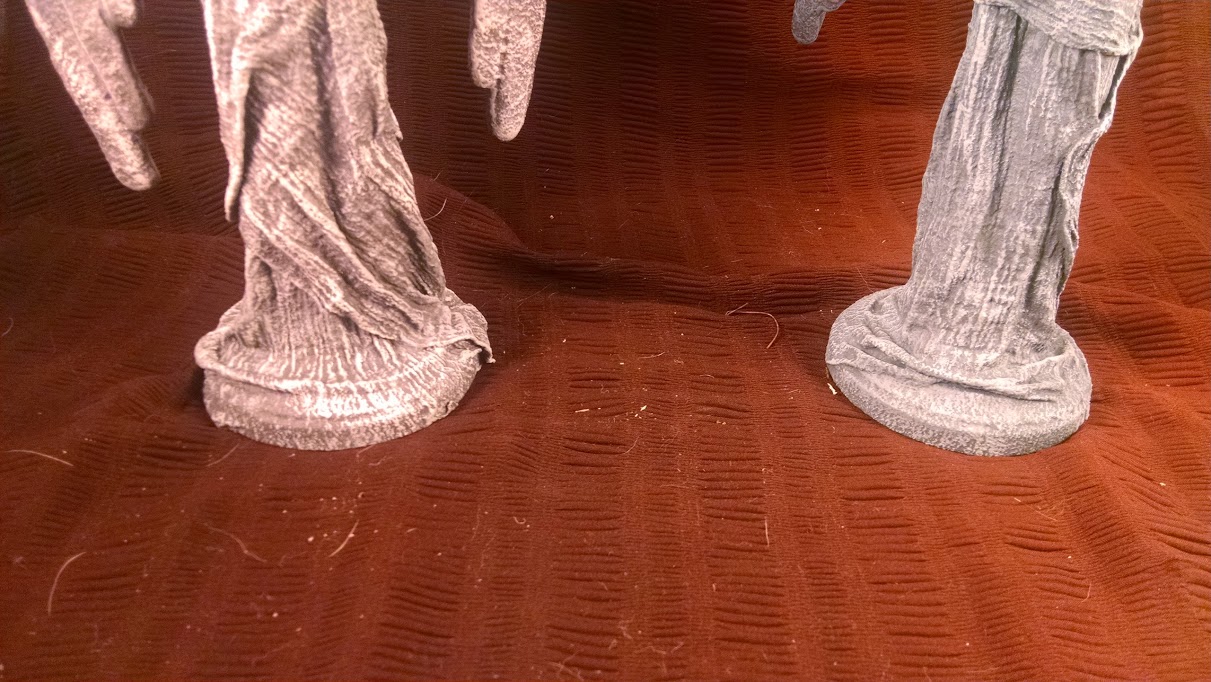
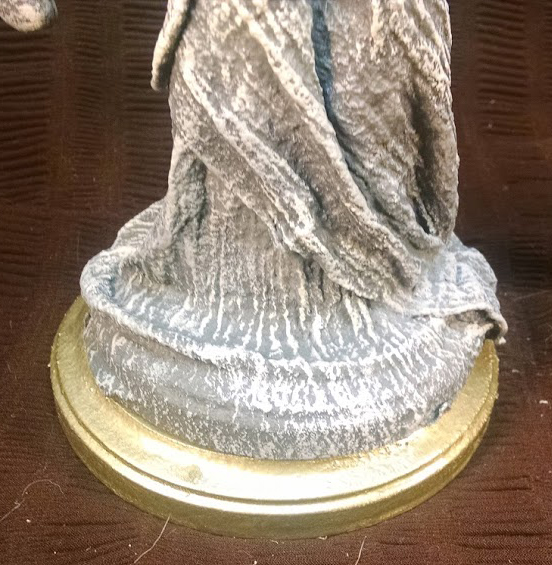
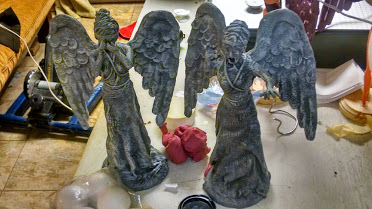
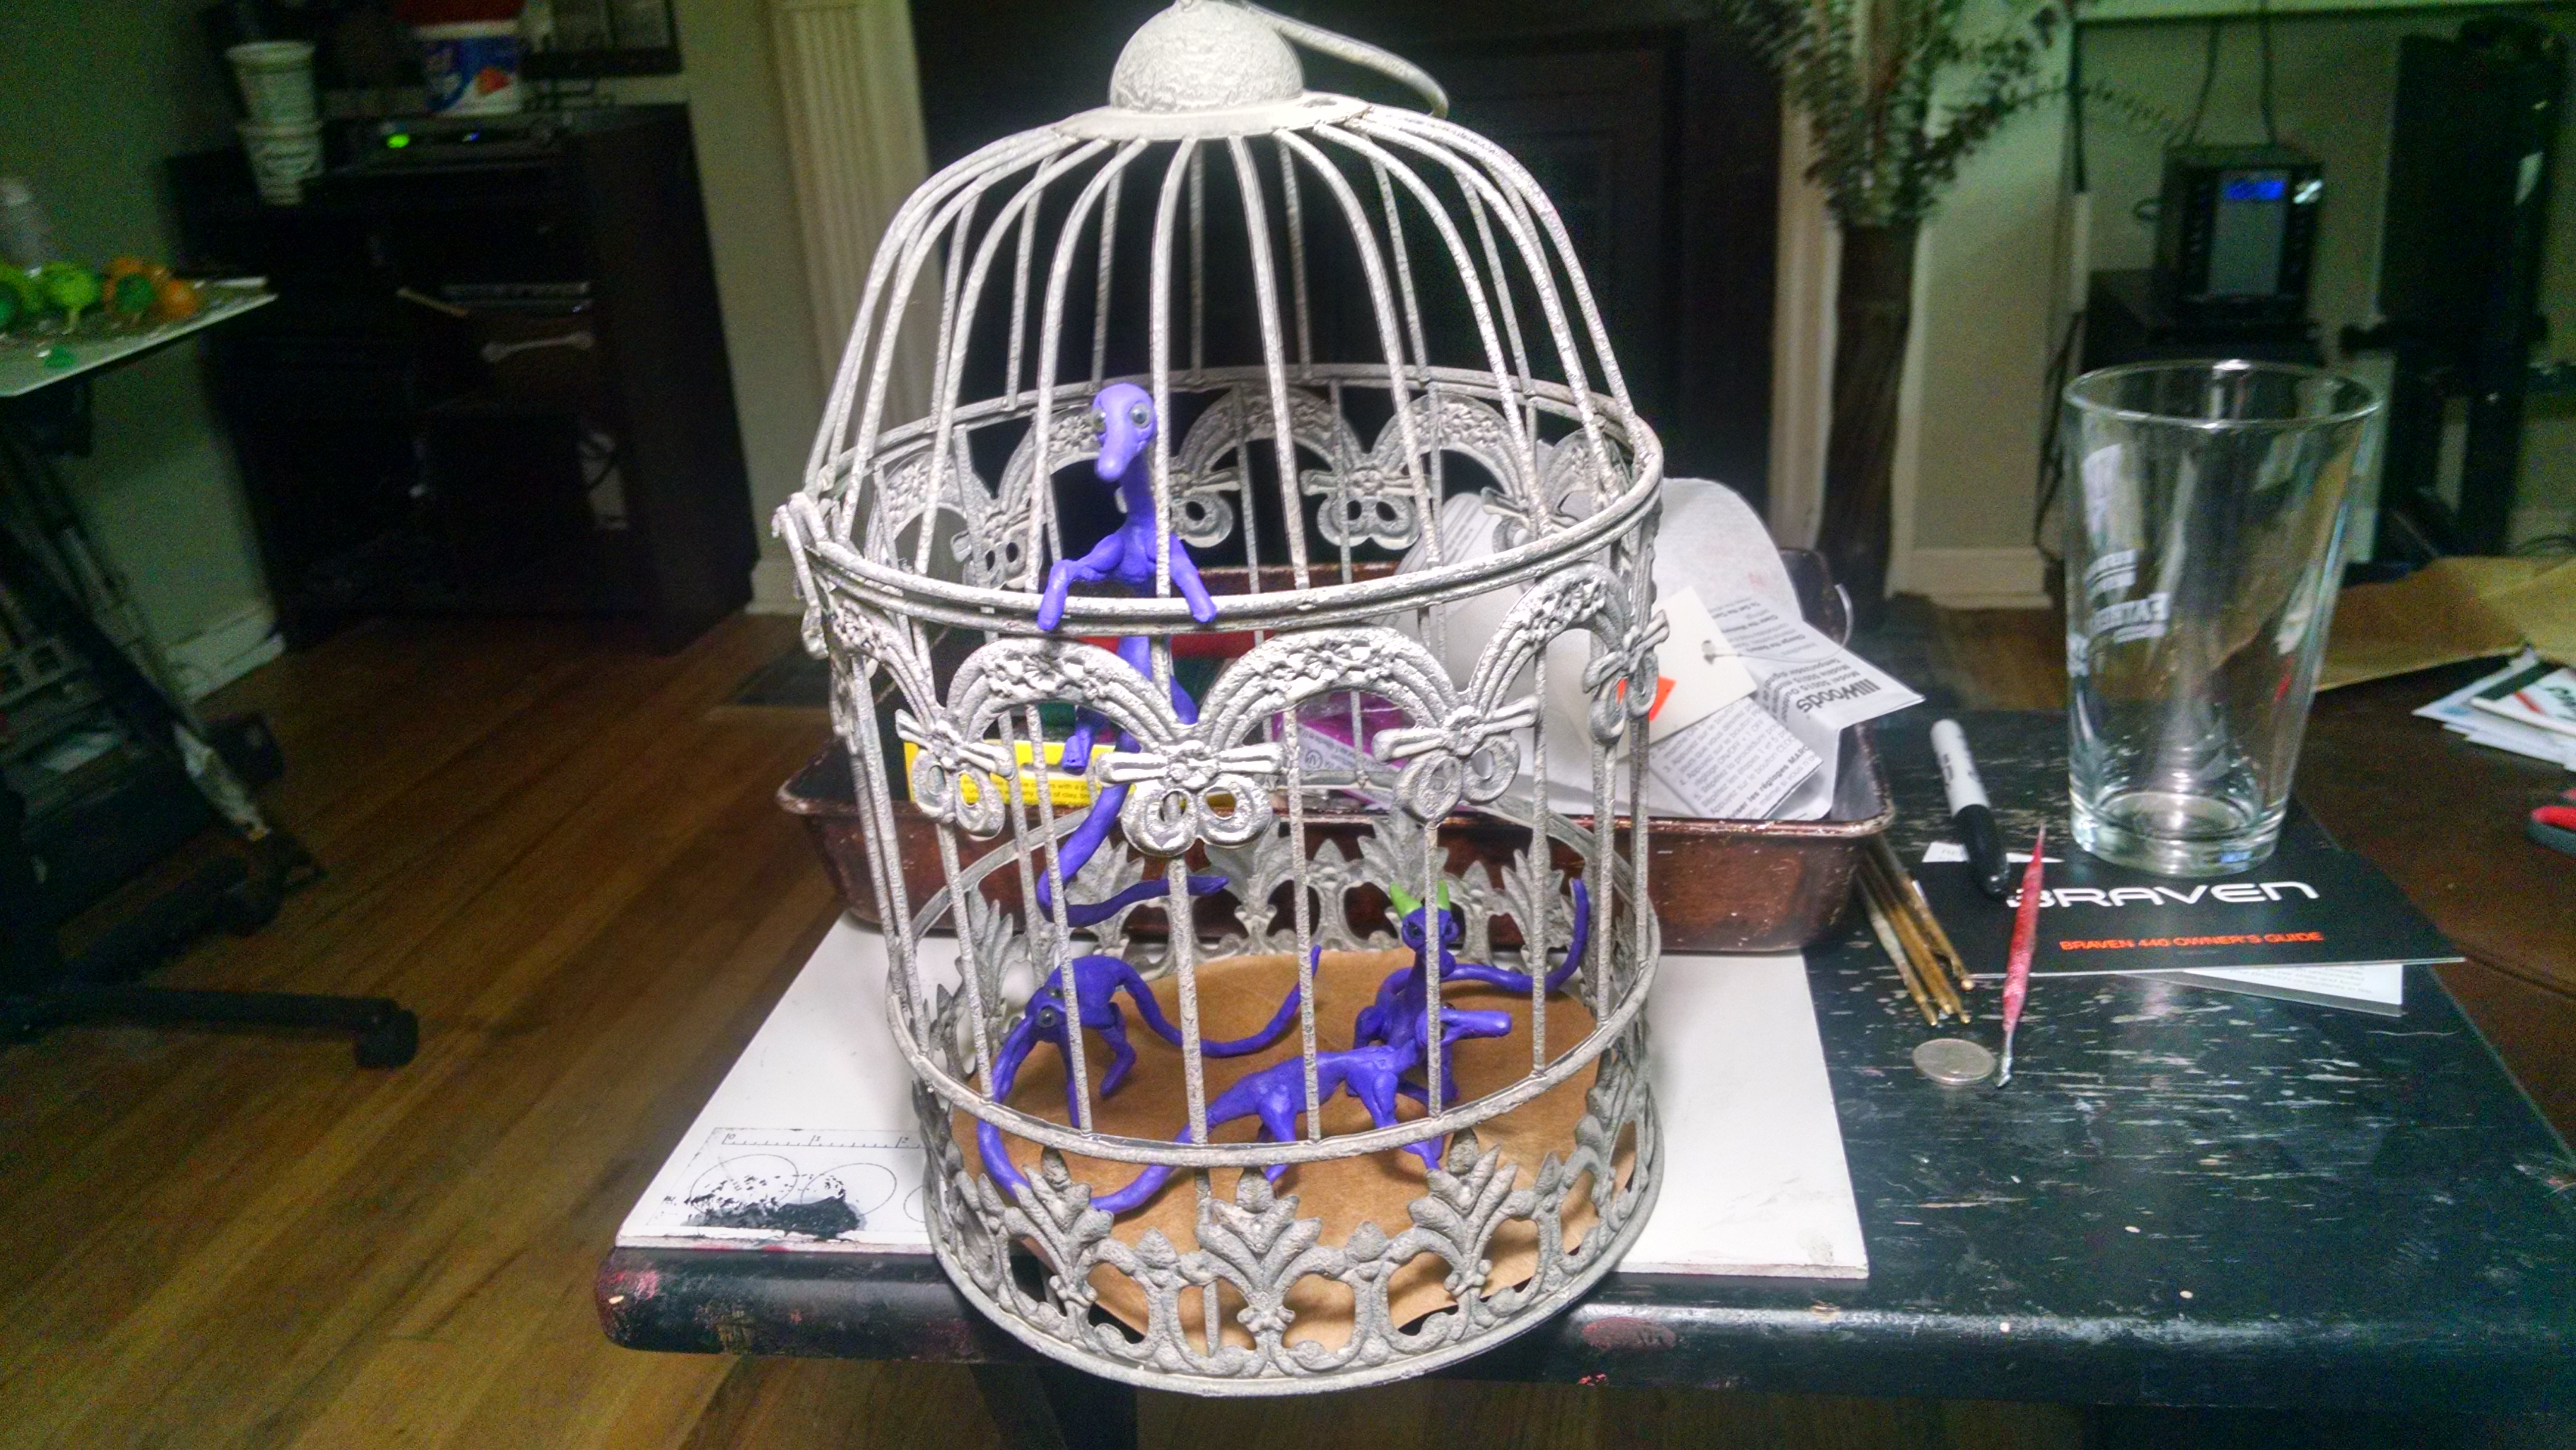
The two sets of weeping angels are being finished off. One set will be attached to some round bases while the others will be attached to some bookends. I’ll post some finished photos shortly.

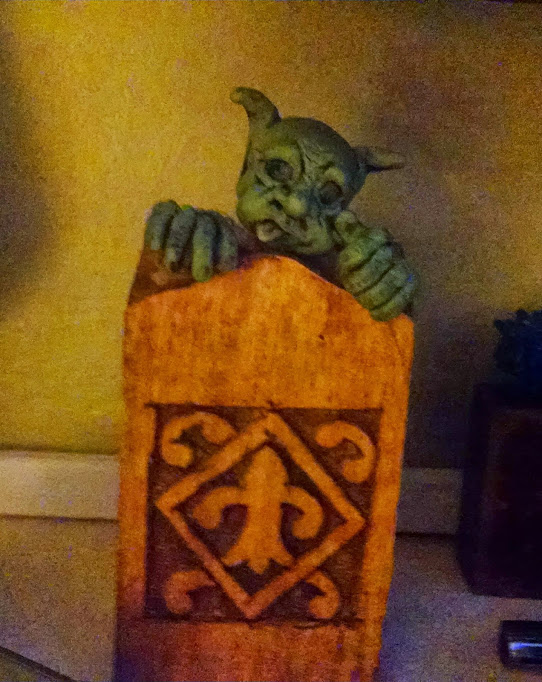
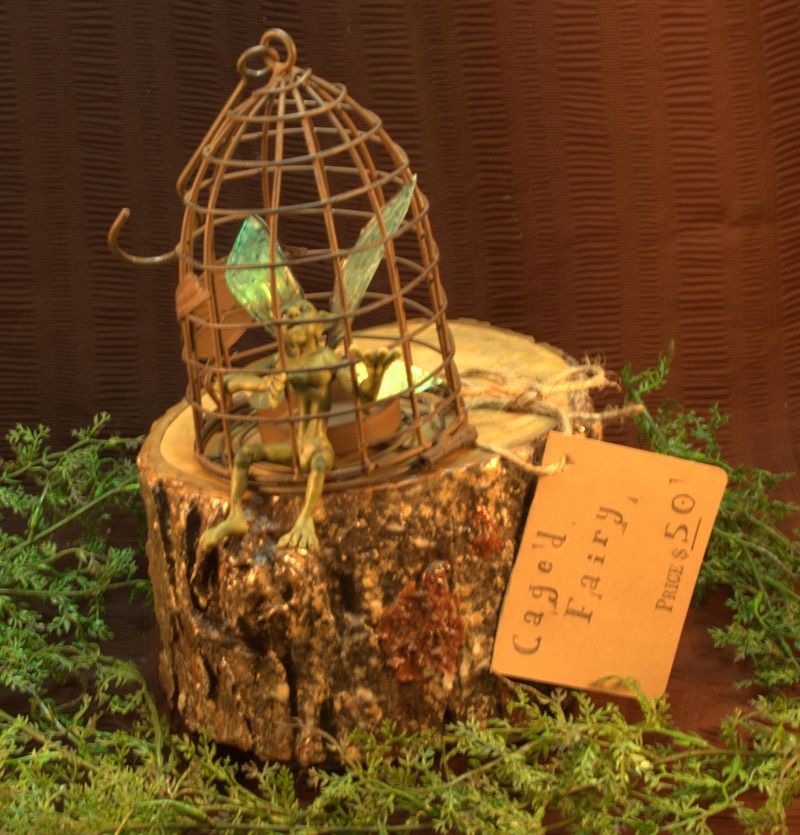
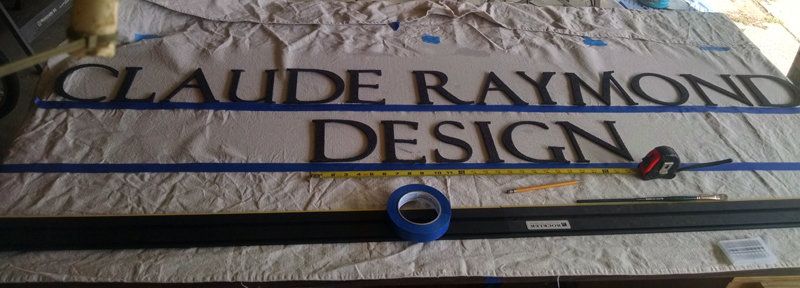
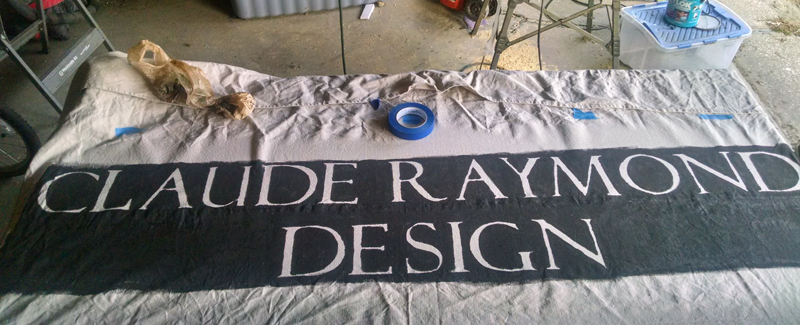
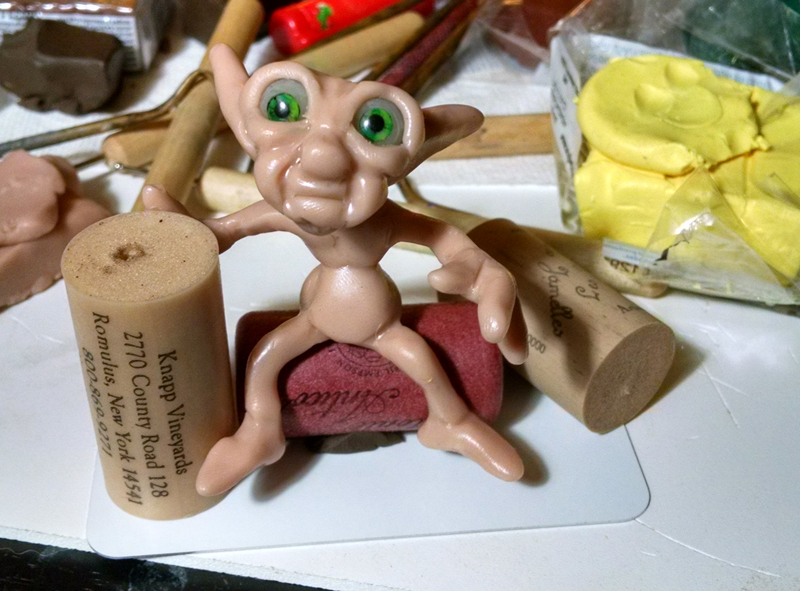
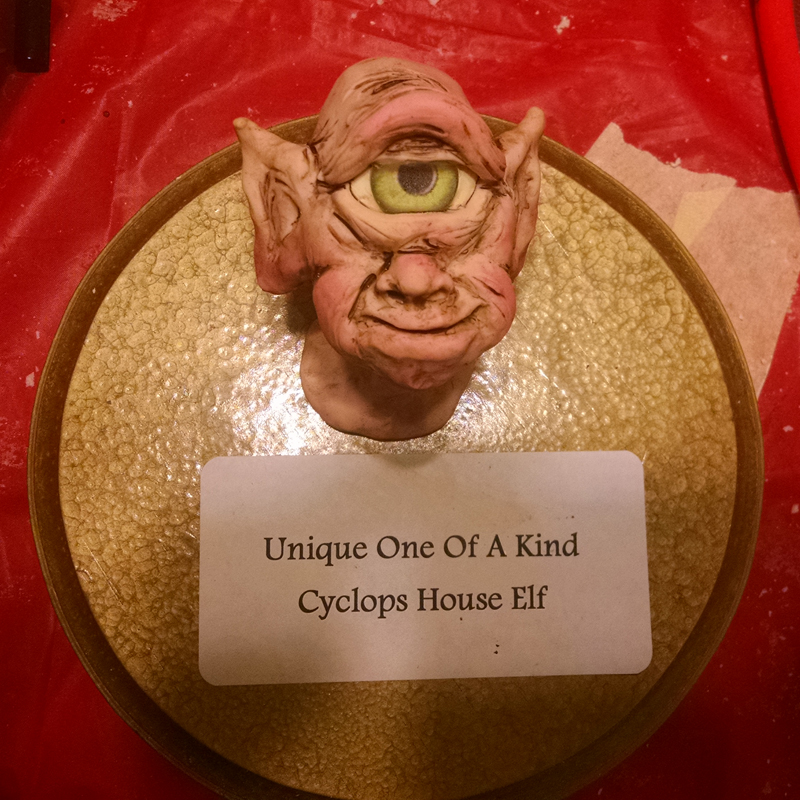
This guy was made as a test on some materials and oven temps.. The sign on him is only temporary. I’m still working on what I’ll put there.

cyclops trophy mount

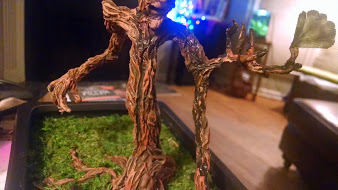
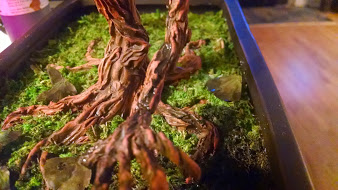
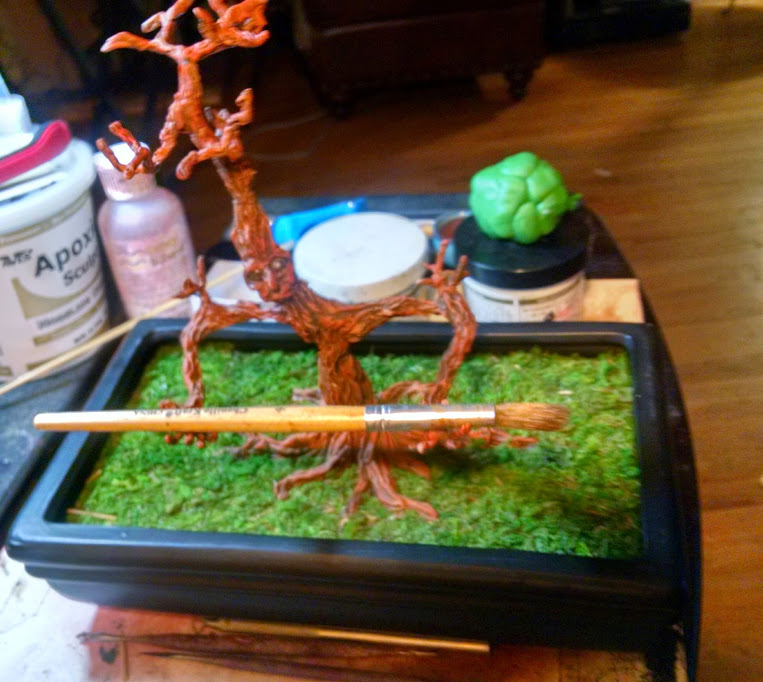
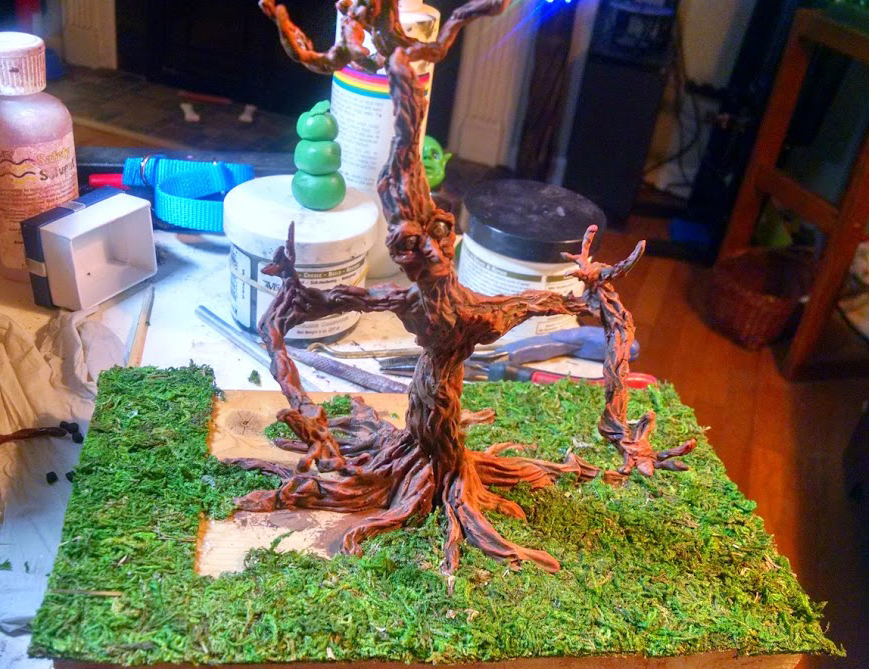
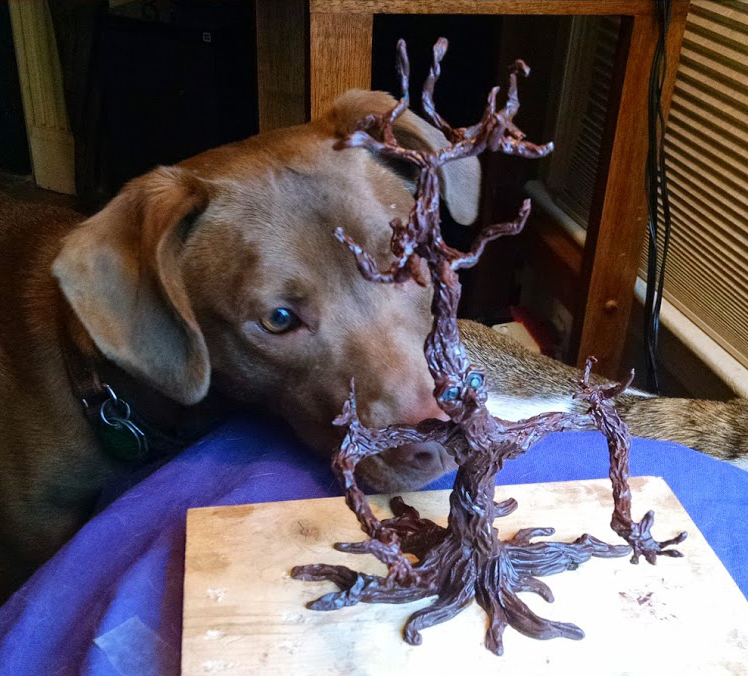
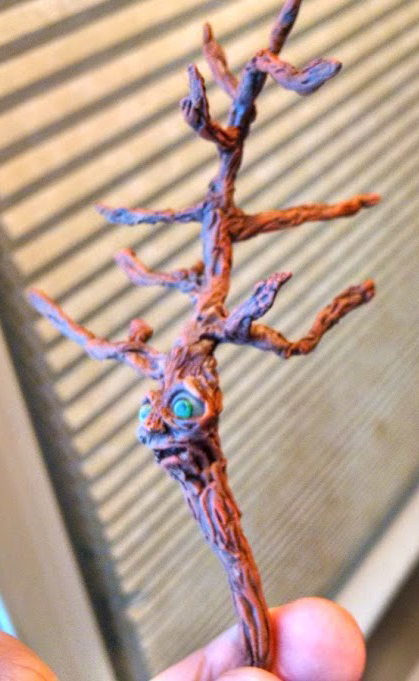
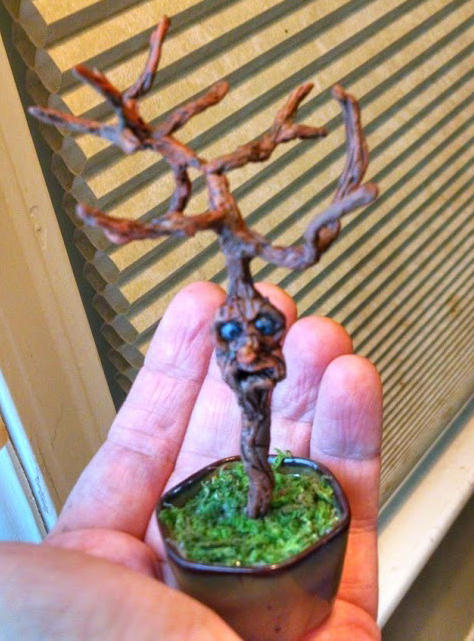
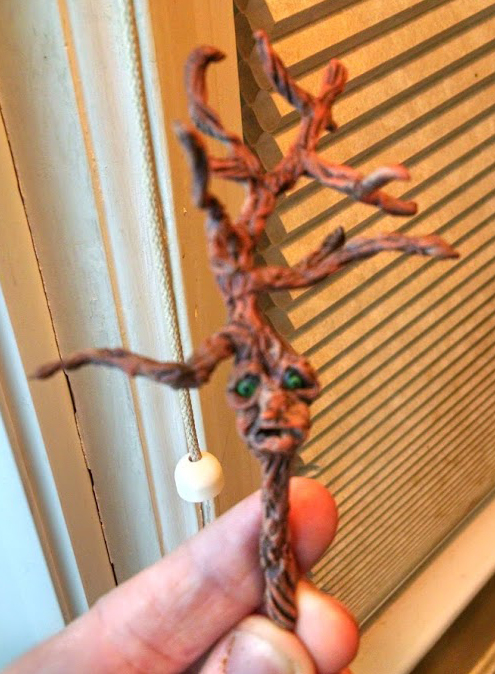
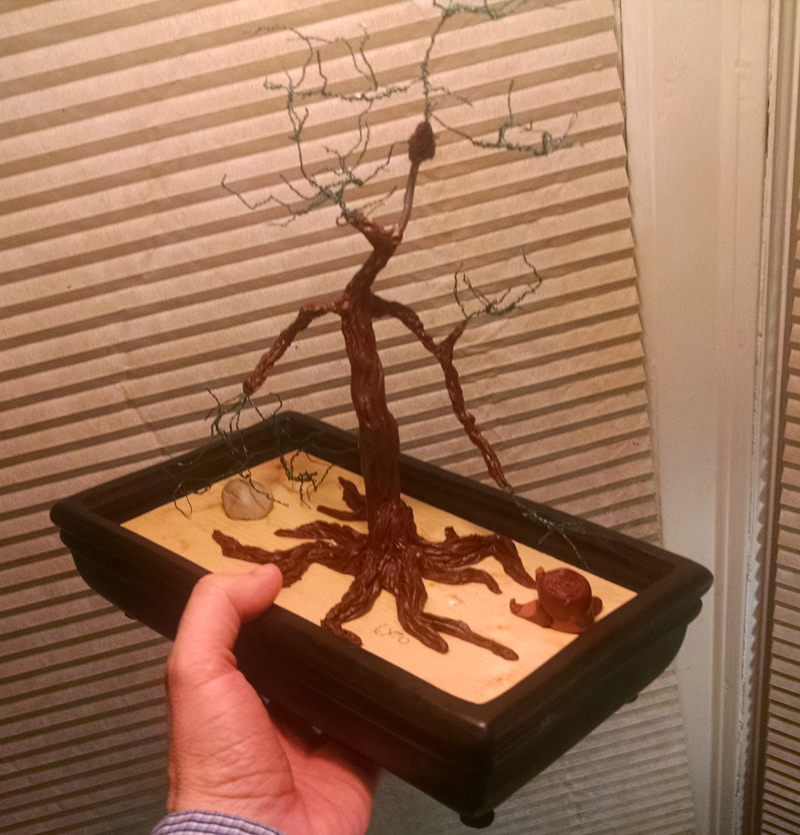
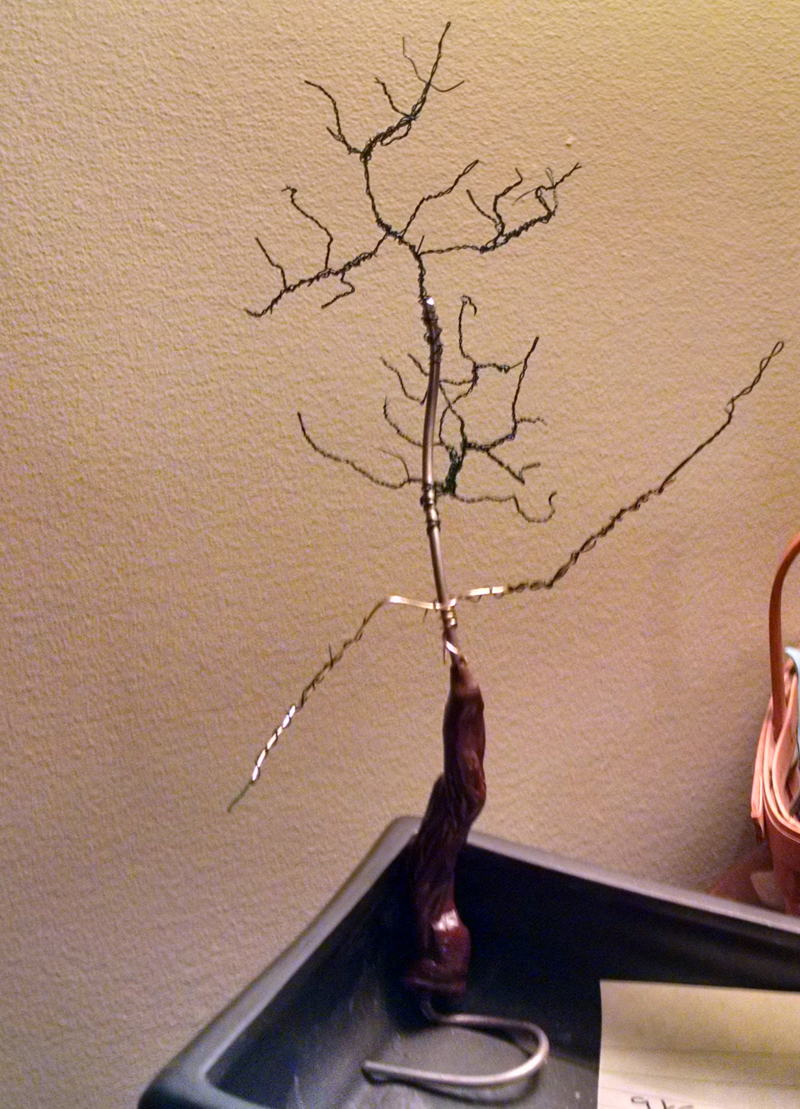
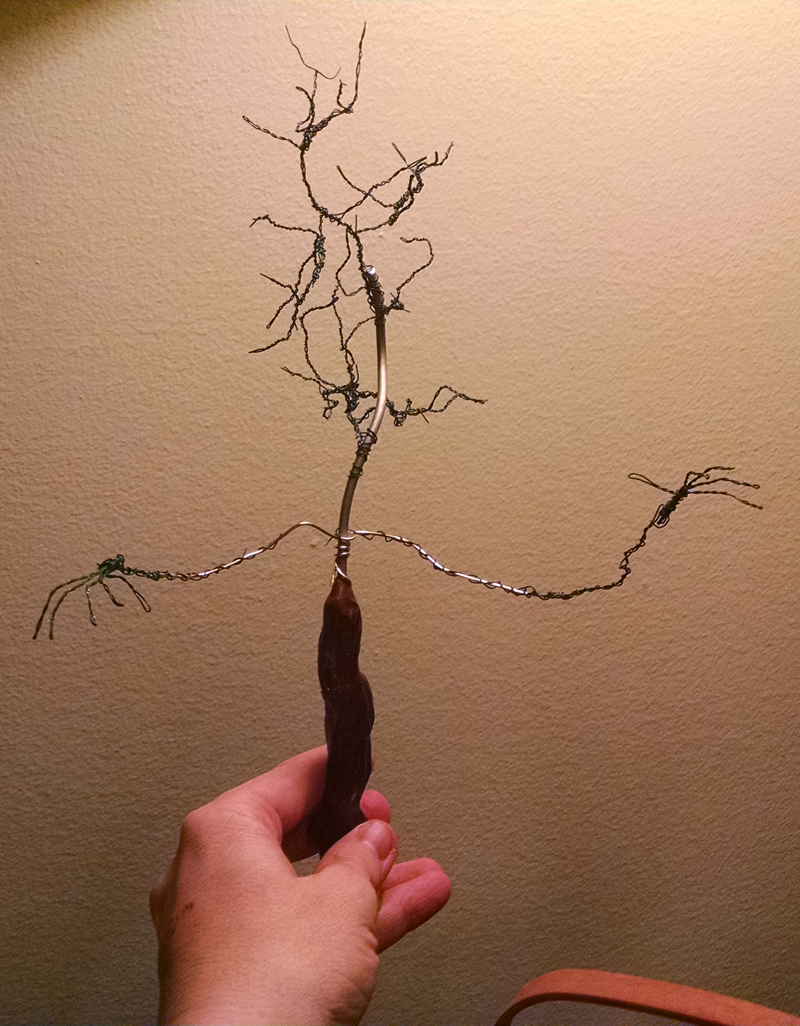
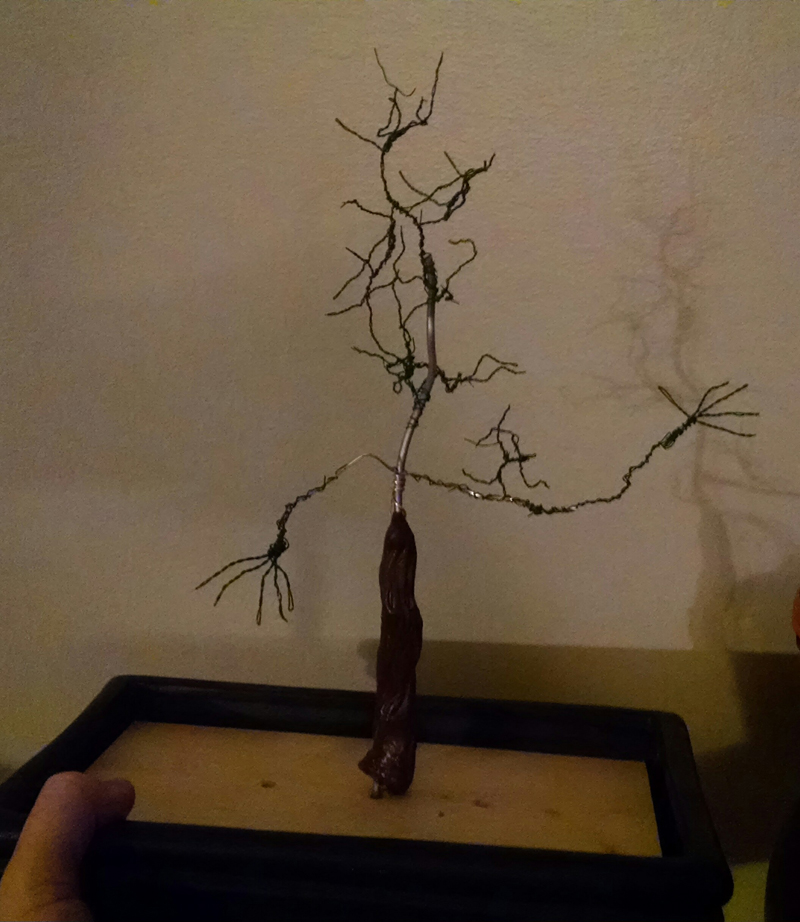
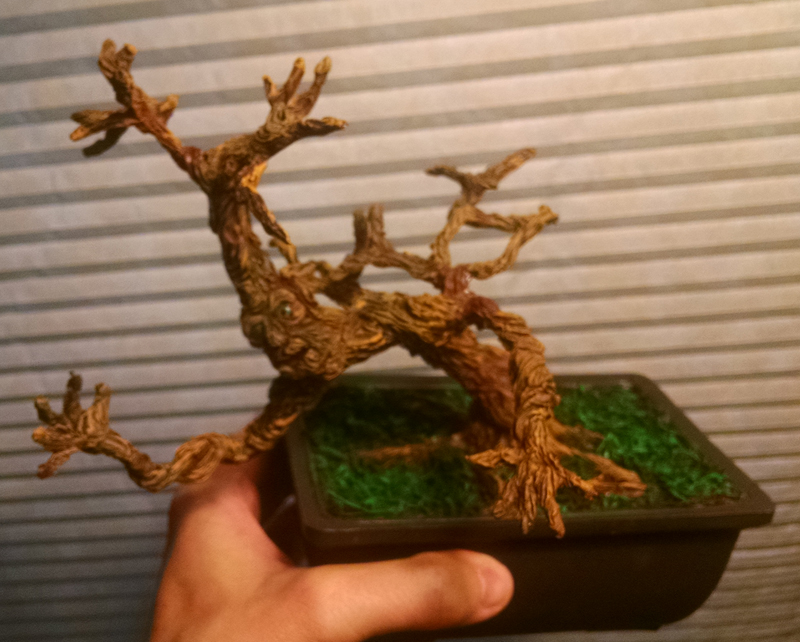
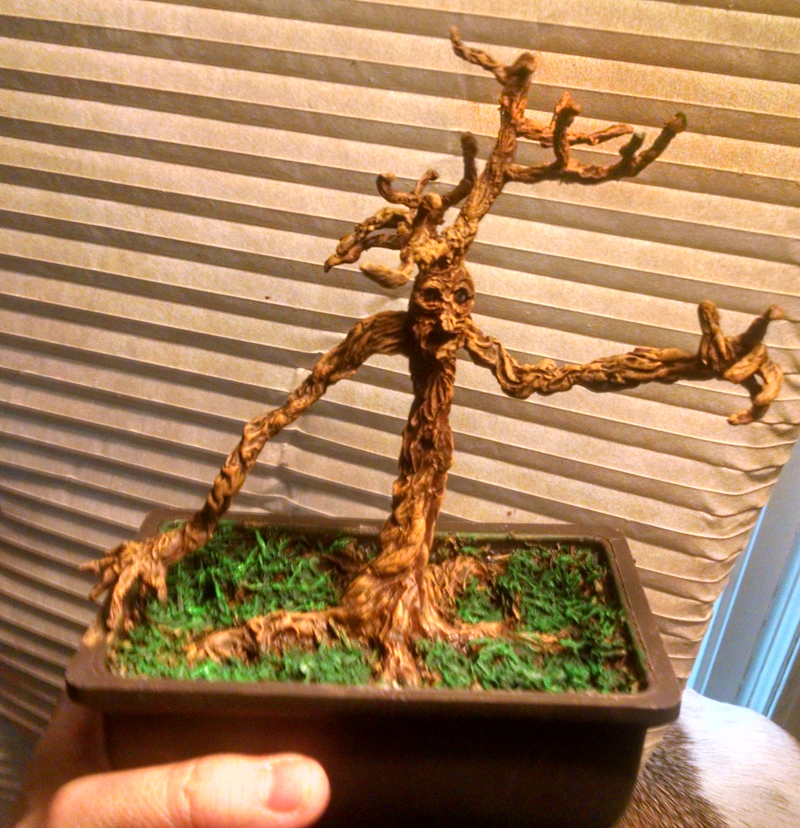
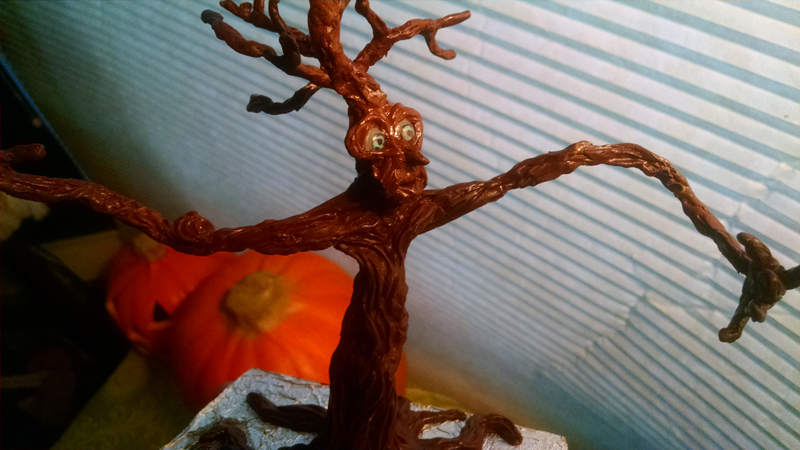
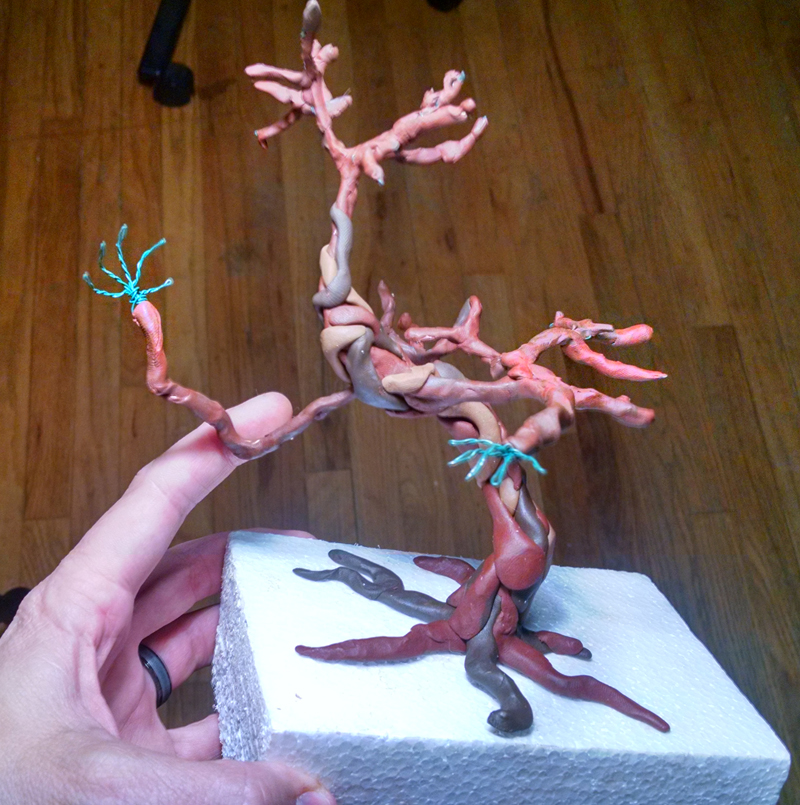
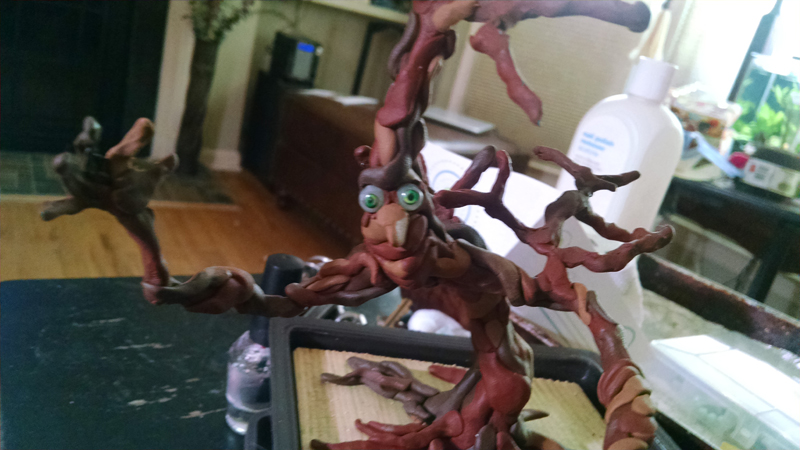
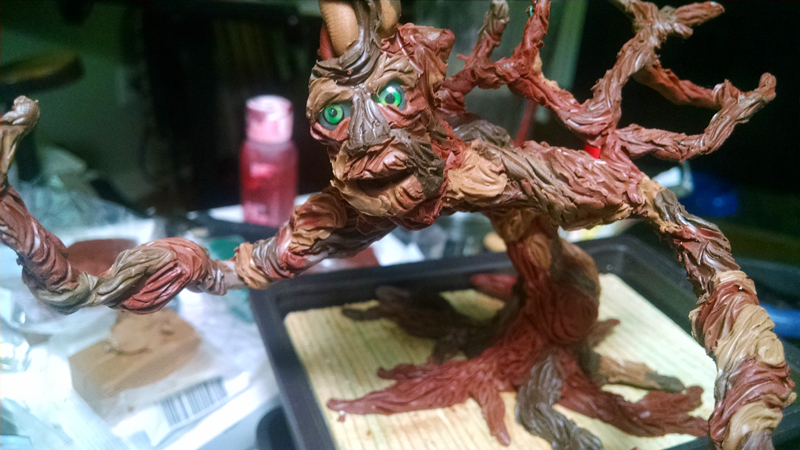
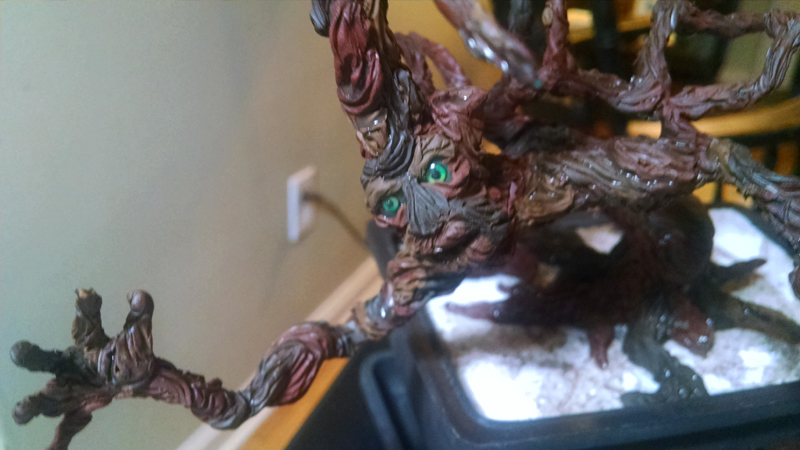
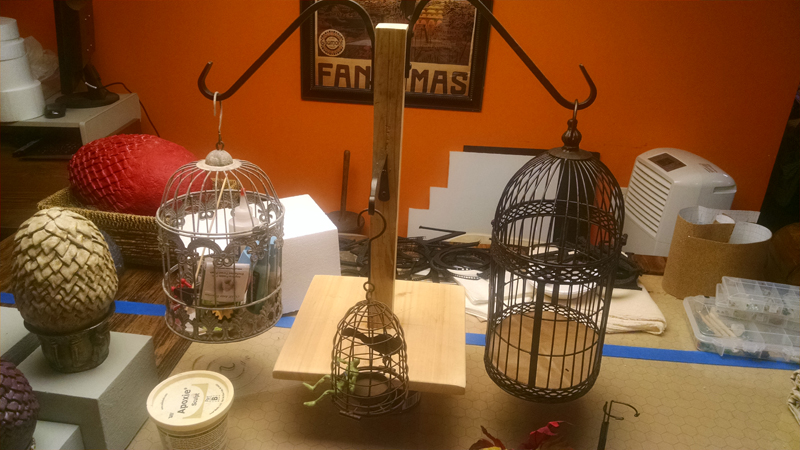
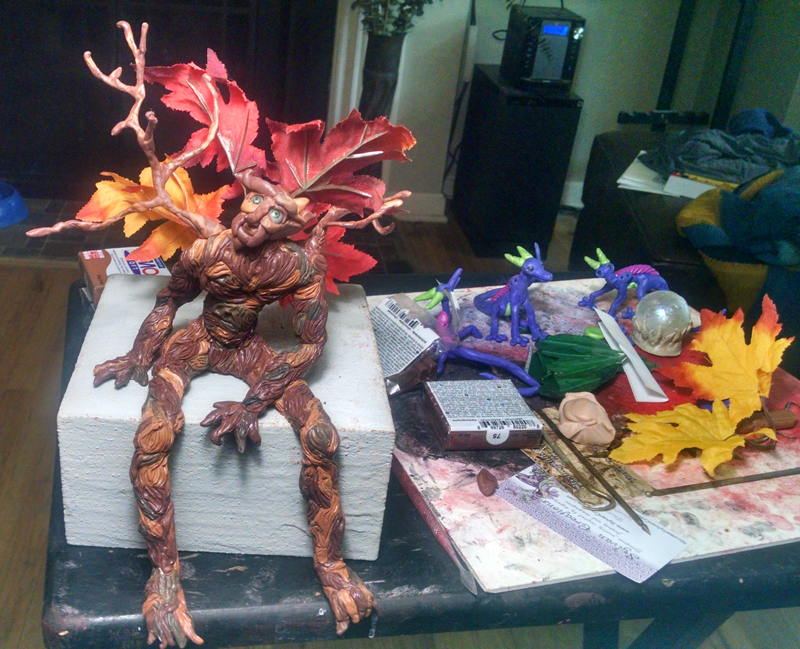
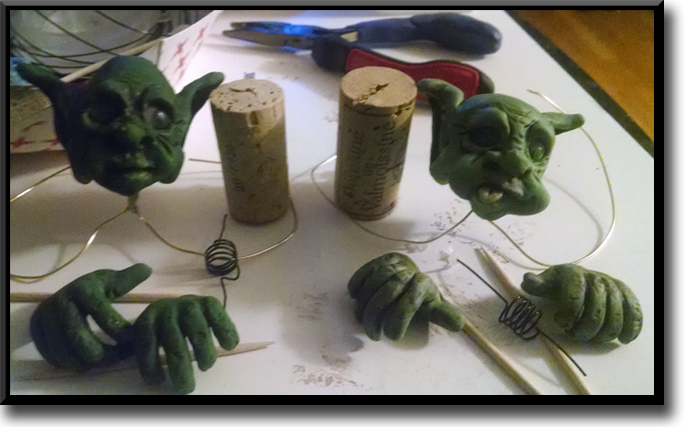
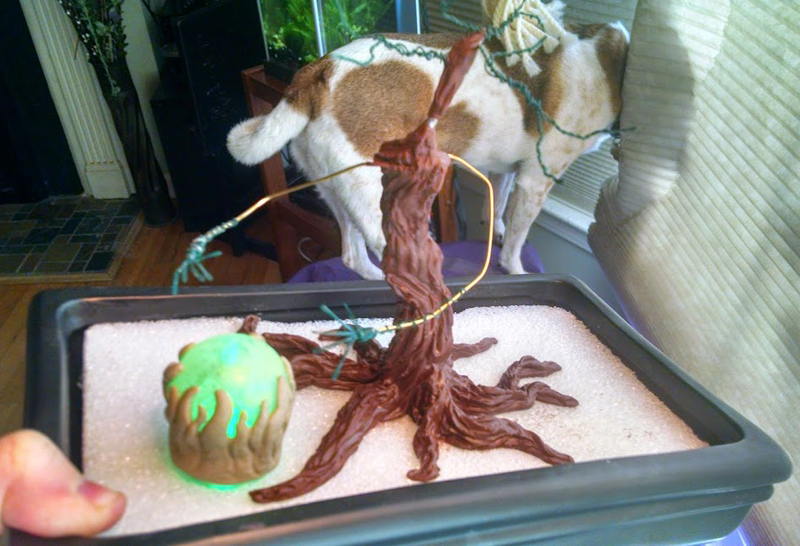
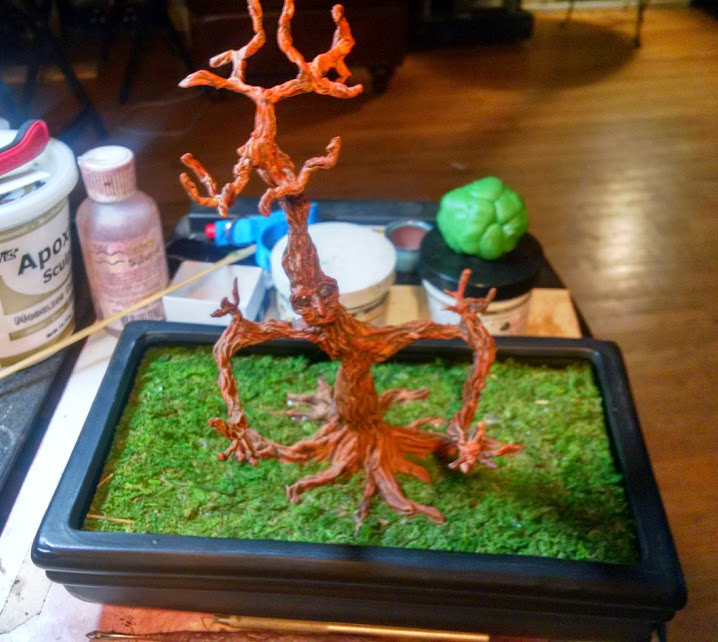
I will also have 2 new Bonsai Tree Ents at the Oddmall. One will have a little tea light fairie light on his base the other is made to hold a pen or other such item in his arms.

bonsai tree ent fairie light1 bonsai tree ent hands out.

I think that’s it…..Other than my Unicorn Trophy wall mount that I’m building. I’m not sure if it will be ready or not for the May Oddmall. We shall see. It is based on the Unicorn from the “Hunt of the Unicorn” Tapestries. This means the horn will be really really long and it will be much smaller than the “movie” horse look that most folks have in their head.

I may for the first time Mold and cast something because the horn is something I don’t look forward to making more of by hand each time i make a Unicorn Bust… plus I can than perhaps simple sell you fine folks the horn.

We shall see.

Enjoy the Snow!

Steve.


Posted on

A New Year Begins

The new year has started and I’m hoping to do more shows this year..


The only one I have booked so far is the May “Oddmall” at the Akron Convention Center.


You can find my work for sale here on the site and I also have several listings on Etsy. I big thanks to Kacie in Pa for being my first Non Networked Etsy sale. I hope her sister loves the Bonsai Tree Ent very much.


On to some completed Projects and some that are in the pipeline.


This past December I did a couple of “commissioned” pieces for friends. One wanted some Doctor Who style weeping angels for an xmas gift for his daughter and the other was a friend that wanted a Bonsai Tree Ent for her sister. The concept request for the Bonsai Tree Ent was to make it morbid. So I decided to go with making it diseased. This is the end product, a black plague is seeping into the tree from the corner of the pot. The leaves are starting to fall out and the Bonsai Tree Ent has the Black Death creeping over it as well.

bonsai tree ent sick 3  bonsai tree ent sick 2   bonsai tree ent sick 4 bonsai tree ent sick 1


My Friend Steve stumbled upon folks that DIY weeping angels from Barbie dolls and asked me if that was something I could do. After Googling it Doctor Who Weeping Angel Barbie (sorry I’m not a Doctor Whoer) and I saw the DIYs and found folks on Etsy selling them. Not happy with the DIYs and the look of the Etsy ones I took the concept and built upon it. I had to improve on the hair and hairband by sculpting it and I had to improve on the wings by doing a little more to it to get a good statue style wing quickly to keep the cost down.  The final result the final result turned out great… The Doctor Who Weeping Angel Barbie I made looks like they should weigh several pounds but are very very light.  I of course was also not happy with just making The Doctor Who Weeping Angle Barbie with her face covered. So I had to hack the arms and face apart more and rebuild it to make the screaming and reaching Doctor Who Weeping Angel as well. Here are the final results of the build and you can also visit the “sale Page” to scroll thru some other photos of the final product.

Doctor Who Weeping Angel Barbie  Doctor Who Weeping Angel Barbie  doctor who weeping angel barbie base 2


This second set will be mounted to book ends and for sale at my booth at shows this year. I will also have a third set done that will simply be on stands.

Doctor Who Weeping Angel Barbie


I completed another Bonsai Tree Ent. This little guy can hold a pen for you or anything else you might want to give him. I left the branches bare on this Bonsai Tree Ent so you can plop some air plants into them. This creates a wonderful “life like” look. The pot is ceramic so this one has a little more “weight” to it.

Bonsai Tree Ent  bonsai tree ent 4a


Here we have Violet giving me some input on the Bonsai Tree Ent build as I was working on it.

violet judging bonsai tree ent


I found some tiny ceramic pots and decided to try and make some Bonsai Tree Ent twigs… There experiments but I may sell them off cheap at the Oddmall if anyone wants to rehome one. I also have a picture of my Twig Sprite hanging out in a hanging flower pot below.

Bonsai Tree Ent twigs  bonsai twig4  bonsai twig1  Bonsai Tree Ent twigBonsai Tree Ent twig   Twig forest Sprite


I started this Zombie Elf On the Shelf last winter and had him in the ground for a year to see what that would do to him.. It didn’t do much at all so I had to do some ware and tare to the fella after I painted his face. I’ll be taking him to the Oddmall this May. I have some Zombie Pumpkins up on Etsy as well. I made these a few years back and decided to try and sell them rather than put them back in storage. Check out the Etsy listing for more information.

Zombie Elf On The Shelf Zombie Pumpkins

I have made Zombie Snow man displays in the past with Super Sculpey and Femo so I decided to give Apoxie sculpt a try. The result is a little to grey. I still may take him to Oddmall and see if anyone likes him enough to take him home.

Snow Man Fight Diorama

On to tests and other builds


This Gargoyal was made out of Super Sculpey about 10 or more years ago and had been sitting in a box for a long time. He is a cone incense burner with the smoke coming out of his butt. Yeah I’m that kinda guy. I have to do a second base for him since the current one doesn’t allow for enough air flow to keep the incense lit.  I ended up doing some paint treatments to make him look like stone.

insense gargoyle 2 insense gargoyle 1

I decided that the “pocket display” I made last year for my display table needed to be changed up a little. So I’m going to add a couple other things to it.. this half pot and this wood pencil holder will be attached to the display. I wanted to show folks looking at the table that the Bobble Heads could be put into more places than just a pocket.

display update 1 display update 2

I’m working on a new eye build here are a couple test heads with the new eyes in place. I think I like the results..

new eye style test head2 new eye style test new eye style test head Pebble earth elemental sprite with test eyes

Lastly I’m going to be messing around with making some Trophy wall mounts and Displays. I’ll be using paper mache on a lot of them.

Here we have the start and parts for a couple of small dragon heads and the stones that will be used to make an Earth Elemental Hand. I’ll also be making the Head of a Stone Gollum/Earth elemental. The plan for that one is to have a light inside that will make the eyes glow.

papermache projects

And then there is this guy. The baby Beholder. He will be floating on a stand when completed.  So far his piece parts are coming together nicely. Also you got a peek of a naked Doctor Who Weeping Angel Barbie waiting in the back ground for her dress to be put on. Dirty.

Baby Beholder Build

Posted on

Working on some Special Order for Friends.

Well I’m still looking into summer art shows to do in 2015. If you have any ideas feel free to send them on over my way.

I really need to take a week off and get the yard ready for winter.. nothing is worse than moving flower pots around in the mid 30s. Yet i put it off once again this weekend and instead did some model work.

This past week I started a couple of projects for holiday orders from friends and I started taking photos so I can get some things listed on my store.

I’m not good at all with custom camera settings but I’m giving it a shot. Hear are some test photos of my OOAK Caged Wood – Forest Fairy and one of my Caged Fairy Dragons.

Caged Fairy DragonCaged Forest Wood Fairy


I picked up a couple of clearance pots that I can use for some OOAK Bonsai Tree Ents. This one is a special order for a friend.

Bonsai Tree Ent Build


I’m not sure yet if I’ll have a broken or chopped trunk that the larger OOAK Bonsai Tree Ent will be looking at next to him. After this Bonsai Tree Ent is completed I’ll move on to making one for the next pot.. These pots are ceramic and a lot heavier than the plastic starter pots I picked up on amazon for the first three I made. I’ll see what I come up with for other models.

The other custom order has to wait to get posted on the off chance that the intended recipient comes across my build photos.


I’m tooling around with a smaller OOAK Fairy Wood Sprite. This one will be smaller and called a Twig Sprite….

Twig Sprite test build.


I’m looking at getting his hands, feet and upper body done this week.. and maybe the face build. I had to spend some time this weekend also making more eyes.. i ran out of the size i want to use on these models and since i make all my OOAK doll eyes by hand i had to spend some time on OOAK doll eye making before i got back to work on the build of the Twig Wood Fairy.

One of these days when things slow down i’ll write up a tutorial on how i make my OOAK doll Eyes… its a combination of other folks ideas and some things i found that work well for my fantasy eyes.

I’m also making some other OOAK Earth Elemental Pebble Sprite. I’m going to make some that can hold something other than a die. We shall see what my broken mind comes up with.

Pebble Sprite Card Holder Pebble Sprite Earth Elemental


As always thanks for finding my site and spending some of your time browsing.

Steve (the product of Claude and Raymond)

Posted on

The Oddmall is over…so on to filling up the store

Thanks to everyone that stopped by the booth at OddMall this past weekend.

Claude Raymond Design Table Display


I’m taking a semi break this week…. I have a couple of special order projects i’m working on for some friends before the holidays.. one shall remain unmentioned till after the holidays ..the other is a new Bonsai Tree Ent.

bonsia tree ent    bonsia tree ent    Bonsai Tree Ent

The pot on this one is ceramic and the inside dimensions are 5 x 9. This will make the base a little larger and I’m still figuring out what i will do with the extra “leg” room.

i’m also going to get some NON phone pictures taking this week down in my little photo booth so I can get some stuff listed in the Store Pages. I’ll also put a thing or two up on Etsy in the next week or so.


If you found me at the show and have some other Ohio Area shows recommendations please send them on over and if you have any questions feel free to send me a note as well.

Thanks for Visiting my site as always.

Steve (the product of Claude and Raymond)


Posted on

17 Days till the Fall Oddmall.

Starting to finish off my models for the show so let’s see what we have so far.

I’ll have a small group of Pebble sprites and since a friend made a “Thing” comment I had to may an homage to the big orange lug.

Pebble sprite

There will also be 3 Bonsai Tree Ents sitting on the table.. Two have been completed and I’m looking to finish the 3rd one of this week.

Bonsai Tree Ent     Bonsai Tree Ent     Bonsai Tree Ent

Next up we have 2 Tree Sprites for sale. These fellas would be about 10 inches tall if they were standing up on their feet… I’ll have a third one there that is for display only and holding my business cards.

wood sprite OOAK Fairy     wood sprite OOAK Fairy

I’ll have this little caged green forest fairy that is looking for handouts as well.

Caged Forest Fairy

I’ll have several smaller sized Dragon eggs and a couple larger sized ones as well. In addition I’ll have the extra-large red dragon egg that has a little shaking motion going on. I’ll have “ask” written on it.. I don’t expect to sell it.

table display left

I’m hopeful that I will have a couple of fairy dragon cages ready for November 1st as well. Right now I’m working on the “cage environments”.

fairy dragon caged 1

I messed around with some fake flowers and putting flower faces on them.. I’ll have them there to add to the table “look/fee” and sell um if folks like them…

flower with face

And lastly I’ll have a display of pocket bobble headed critters…The 6 pockets will be filled and I’ll have some on display stands…

pocket critters

I think that’s it.. I may have some goblin babies with me as well… we’ll see…plus the little beta test below will be hanging out on my shoulder

shoulder fairy dragon


Posted on

OOAK Red Dragon egg is just about finished…and more.


table test layout

The table layout has been tested.. It will be a little crowded… Once i get my table cloth completed we’ll do a second test layout.

Speaking of the table cloth… I thought i would use a Drop Cloth for a table cloth and try and put the company name on the front.. rather than purchase a banner i thought i would try and stencil it on…

tableclothstencillayout tableclothstencilpainted

I laid out the letters in the center of the cloth and i think the final results will end up looking cool… i should have the rest of it painted by the weekend.. and i can do a test fit then.

i’m going to have two Bonsai Tree Ents for sale at the show.. and in the next month of so i’m going to do some tests on using live plants on them..

this is the first Bonsai Tree Ent. I started by making a wire tree frame and added material ..I used some of my OOAK hand made eyes on the OOAK Bansai Tree Entas well

bansai_ent_materialstartbansai_ent_facestart


a couple more pictures here.. this is when the OOAK Bansai Tree Entwas mostly finished and the last one has the wash drying on him.. so the OOAK Bansai Tree Ent.

bansai_ent_almostdone bansai_ent_wash

Next we have a little tiny elf resting on some wine corks..  I had an armature sitting around and Heather said i need to make something cute.. so i cooked this guy up in about an hour or so..

basic coat ruffed in display test

I used some of the new OOAK hand made doll eyes that i cooked up last week on him.. i must say i like the green eyes

Finally i’m just about ready to call the OOAK Large Red Dragon Egg complete. I installed some rare earth magnets on the “door” so it stays closed much better and i gave the OOAK Large Red Dragon Egg a Burnt Umber wash over the last couple days.

firstwash open_magnets firstwash_fullpic 

i’m not sure yet if i’ll do some more painting on the OOAK Large Red Dragon Egg .. i’ll let it sit for a bit and think on it.

So for the next update lets look for

1. table cloth finished

2. green ooak medium dragon egg completed

3. table test 2 completed

4. tiny shelf elf done

5. second bonsai tree ent completed

6. back to work on the Fairy dragons.

7. i’m sure there is a 7 8 and 9 …but i’ll hold off and naming them and see what else hits the list.


Posted on

The Start to August and the builds continue

Busy weekend with sculpting and display projects.

I taped out a spot on the gaming table for a 72’x30’ table layout and did a “ruff” display layout.

IMG_20140802_101007793

I found out my OOAK Fantasy Bobble Head Creatures display was going to be too large. As you can see in the photo.. I took it to the table saw Saturday afternoon and it now holds 6 pockets. The photo below is of the display after i gave it a primer coat and did a test fit in our sun room.

IMG_20140731_193933617


I did a beta build on a cage stand for my OOAK Fairy Dragons Saturday and 1.0 was not tall enough….bummer..

IMG_20140802_165345994

A little toooo short………darn it!.. I had to put a paint can under it to lift it up off the table.

So Sunday morning I did 2.0 with a second piece of scrap wood.. much, much better. Just needs a coat of paint and we will call this one done. I’ll get a photo of the new one tonight.

I started to polyurethane my tree stump display for my OOAK fantasy Wood Sprite.. Now if I could only get the poly to fill in the holes on the edge of the bark and core. I’ll see what I have when I go check it out after I get home tonight. Another tonight item.

IMG_20140802_162200863_HDR

The for sale OOAK fantasy Wood Sprite was started and finished over the weekend.. Well, he needs to be baked but the sculpting is all done.

IMG_20140731_190930705  IMG_20140803_131750634_HDR

The photo on the right shows a test fit on the “leaf wings”. I’m looking at other options for leaf wings as well.. i’m not sold on making something from scratch on this.

I had the goal of wanting to finish off 3 OOAK fairy dragons this weekend and failed.. I changed how I’m doing the toes late Sunday so I’m going to be redoing the toes on the first 3.. They are at about 95% complete. I’m also still not sold on what I’ll be doing for wings.

IMG_20140803_150816557   IMG_20140803_150812913


That’s it… busy, busy weekend.. Getting close to being able to slow down.

I may try and finish off some display builds during the work week and look to aging the OOAK large Red Dragon egg inspired by the game of thrones design.

Have a wonderful week..


Steve of Claude Raymond Design.

Posted on

End Of July and still working away

Another post for me to read.

The build of my OOAK Large Red Dragon Egg inspired by the Game of Thrones Dragon Eggs is going well.

I cut it open over the weekend and patched up all the cut lines last night. The test with the Weasel and Ball Toy worked out well. It even adds a baby dragon scratching to come out noise. I’ll look into starting a You Tube channel or uploading a video to hear once the egg is completed.

The Gallery has some build photos posted of the dragon egg if you would like to see how its constructed.

I’ll look to bring several smaller dragon eggs to sell at the Oddmall.

The Caged Fairy Dragons are moving along nicely. I should have my first two hopefully finished by the end of the week and i decided to make a second Wood Sprite to sell at OddMall. I’ll be starting to work on him tonight  when i need a fairy dragon break.

IMG_20140725_221758728_s

Construction of my displays are moving along.. it would have been better if i had not left a 1/8 pice of plywood out in the rain… i’ll be starting over on that.

I have 3 more pockets to construct for the bobble head creatures and that part of the display will be completed.

fun fun fun…

Have a lovely week.


Posted on

Update Time on Fantasy OOAK Goblin Art Dolls and More

Been a busy little bee over the past couple weeks..lets get on to my stream of consciousness writing…

I finished off the scales on the Large Red Dragon and I’m ready to cut the shell open to make a hatch that i can use to drop in a device to make the egg move around.

This is a picture of the Dragon Egg sitting in its basket.. i did a test fit to see how it would look.

IMG_20140719_205210754_HDR

I’m not sure yet if I’ll just display it or also put a price tag on it and see if it sells.


Work on “fairy dragons” continues. I plan to cage and sell 4 of them at the Odd Mall in November.

These are the wire frames with a base level of polymer clay on them… the one on his side will be made to either hang on fishing line or cling to the side of the cage.

IMG_20140719_102641878 IMG_20140719_102830739_HDR

I have another 7 OOAK bobble head fantasy critters ruffed out and waiting for me to finish off as well.

IMG_20140719_101120952_HDR


I’ll see what i get done this week.. Wings for the Fairy Dragons are on the top of the list.


I do have to start work on my display stands and table set up for November.

I can slow down when i have a base collection of critters done..


NO REST FOR THE WICKED!

Posted on

OOKA Fantasy Art Dolls Pocket Creatures Update

Progress is moving forward on the Bobble Headed Pocket Creatures.

I should have some Pocket Critters to post to Etsy and here shortly. These OOAK Fantasy Art Dolls will come in several designs. I Goblins, Brownies, and Elementals. I completed my beta test for a stone creature and brownie this past weekend.  I have 7 or so completed and started to experiment with other designs.. i did an evil little imp that is flipping the bird as well as a stone golem and a pixie/brownie. My plan is to make 20 that i will take to the Oddmall and a couple to put up here and at Etsy.

I added a couple new pictures to the gallery if you’d like to take a look at the continuation of the build.

you can see the pieces parts waiting to be put together below

parts

The cork is used for the body and the tooth picks are used to create the arms and allow for a simple joint so you can move the arms about. You can also see the 20 gauge wire used to make the head bobble about on the cork.

Now to start my plans for a display stand for Oddmall.


Thanks for visiting.


Steve.